Woven Hearts Beanie: Free Beginner Crochet Pattern
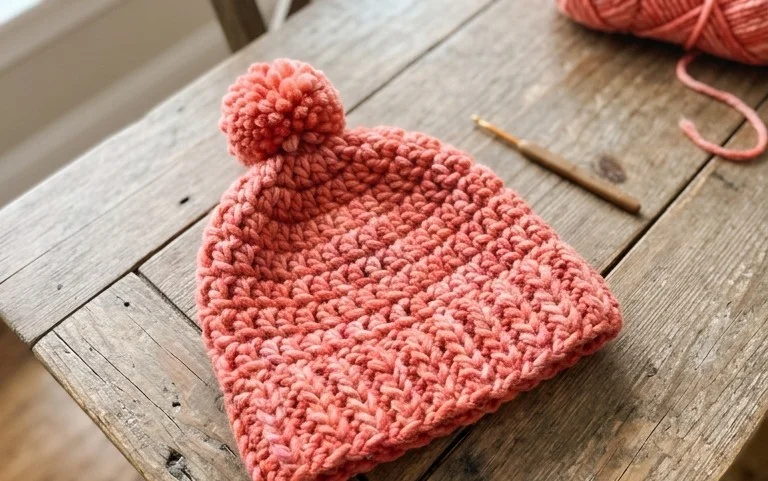
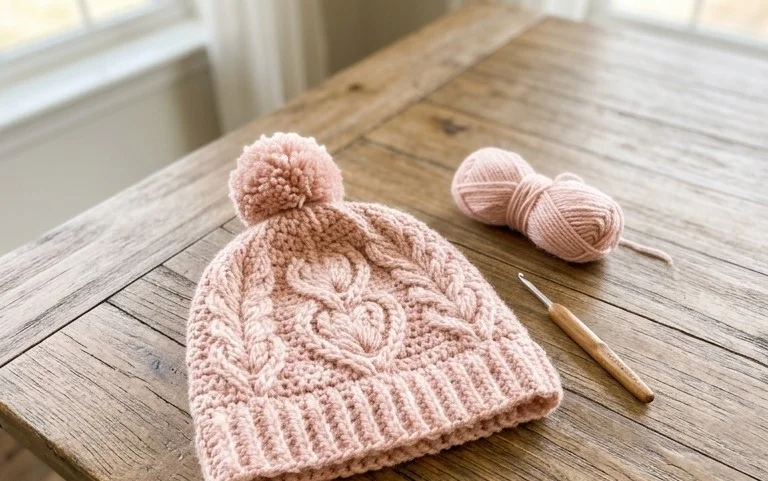
This beanie features a dense, cushioned texture that feels remarkably soft against the skin, making it a reliable choice for chilly morning walks or windy days. The interwoven heart motifs create a subtle, decorative surface that looks sophisticated despite being simple to construct. Beginners will find this project rewarding because it uses basic stitches to build a shape that actually fits well. You will learn how to maintain even tension across the heart clusters to ensure the fabric stays flexible. This pattern offers a great way to practice structural shaping while producing a cozy accessory for yourself or a thoughtful handmade gift.
Why This Project Is Worth Making
The Classic Crochet Granny Square is the quintessential building block for fiber artists. It works up quickly using basic stitches, making it an ideal candidate for utilizing leftover scrap yarn from larger projects. Because the design relies on a repeating cluster pattern, it offers a rhythmic, meditative experience that helps beginners build consistent tension. Its modular nature allows you to create anything from small coasters to full-sized afghans by simply adjusting the number of squares you join together.
I managed to finish my first square in under twenty minutes. The instructions are incredibly clear and helped me finally understand how to transition between rounds without creating a bulky seam.
— Sarah, beginner crocheter
Pattern Overview & Skill Level
- Skill Level: Beginner
- Approximate Time: 20 to 30 minutes per square
- Construction: Worked in rounds starting from a center ring, creating a square shape through corner increases
- Finished Dimensions: Approximately 5 inches by 5 inches using standard worsted weight yarn
Materials & Supplies Needed
- Yarn: Worsted weight (#4), 100% acrylic or wool blend, approximately 15 yards per square.
- Hook Size: 5.0 mm (US H-8).
- Notions: Yarn needle for weaving ends, scissors.
- Safe yarn substitutions: You may use DK weight (#3) yarn with a 4.0 mm hook for a smaller, tighter square, or bulky weight (#5) with a 6.0 mm hook for a larger, lacier square.
Stitch Guide & Abbreviations (US Terms)
- ch: chain
- dc: double crochet
- sl st: slip stitch
- sp: space
- cluster: 3 dc worked into the same stitch or space
- corner: (3 dc, ch 2, 3 dc) worked into the same ch-2 space
Step-by-Step Pattern Instructions
Foundation and Rounds
- Foundation: Ch 4, join with sl st to the first ch to form a ring.
- Rnd 1: Ch 3 (counts as first dc throughout), 2 dc in ring, ch 2, (3 dc in ring, ch 2) 3 times. Join with sl st to the top of the beginning ch-3. (12 dc, 4 ch-2 spaces)
- Rnd 2: Sl st into the next 2 sts and into the first ch-2 space. Ch 3, 2 dc, ch 2, 3 dc in same sp (first corner made). Ch 1, *(3 dc, ch 2, 3 dc) in next ch-2 space, ch 1. Repeat from * 2 more times. Join with sl st to top of beg ch-3. (24 dc, 4 ch-2 spaces, 4 ch-1 spaces)
- Rnd 3: Sl st into next 2 sts and into the next ch-2 space. Ch 3, 2 dc, ch 2, 3 dc in same sp. Ch 1, 3 dc in next ch-1 space, ch 1, *(3 dc, ch 2, 3 dc) in next corner ch-2 space, ch 1, 3 dc in next ch-1 space, ch 1. Repeat from * 2 more times. Join with sl st to top of beg ch-3. (36 dc, 4 ch-2 spaces, 8 ch-1 spaces)
- Rnd 4: Sl st into next 2 sts and into the next ch-2 space. Ch 3, 2 dc, ch 2, 3 dc in same sp. Ch 1, (3 dc in next ch-1 space, ch 1) 2 times, *(3 dc, ch 2, 3 dc) in next corner ch-2 space, ch 1, (3 dc in next ch-1 space, ch 1) 2 times. Repeat from * 2 more times. Join with sl st to top of beg ch-3. (48 dc, 4 ch-2 spaces, 12 ch-1 spaces)
Finishing
Fasten off yarn leaving a 6-inch tail. Pull the tail through the final loop to secure the knot. Use a yarn needle to weave the tail through the back of the stitches on the reverse side of the square to hide the end securely.
Care & Washing Instructions
- Hand wash or machine wash on a gentle cycle using cool water (max 30C/86F).
- Lay the square flat on a towel to air dry, ensuring the edges are pulled straight to maintain the square shape.
- If the square appears slightly puckered, use a steam iron held an inch above the fabric or a damp pressing cloth to gently steam-block the piece flat.
Pro Tips & Common Mistakes to Avoid
- Consistent Tension: Keep your yarn tension relaxed, especially when working the chains between clusters, to prevent the square from curling or pulling inward.
- Stitch Tracking: Place a removable stitch marker in the top of your beginning ch-3 at the start of each round to ensure you join the round correctly every time.
- Weaving Ends: Weave your yarn ends into the stitches of the same color to ensure they remain invisible from the front side of the work.
- Adjusting Size: You can make the square larger by simply repeating Round 4, adding one more (3 dc, ch 1) cluster into every ch-1 space between corners for each additional round.
Frequently Asked Questions
Can I use different yarn weights in the same project?
It is not recommended to mix yarn weights in a single square as the finished dimensions will be inconsistent. If you are joining squares, ensure all squares use the same yarn weight to avoid buckling or gaps at the seams.
Why are my edges curling instead of lying flat?
Curling usually indicates that your tension is too tight or that you have skipped the ch-1 spaces between clusters. Ensure you are working the ch-1 stitches firmly and that you have not missed any increases in the corners.
Is this pattern suitable for making clothing?
Yes, granny squares are frequently used to create garments like cardigans and vests. You will need to calculate how many squares are required for your specific body measurements and join them using a mattress stitch or flat slip stitch join.
Can I sell the items I make with this pattern?
Most individual designers permit the sale of items made from their patterns. Always check the specific copyright notice provided by the designer or the original source, and credit the design whenever you list or display your finished work.
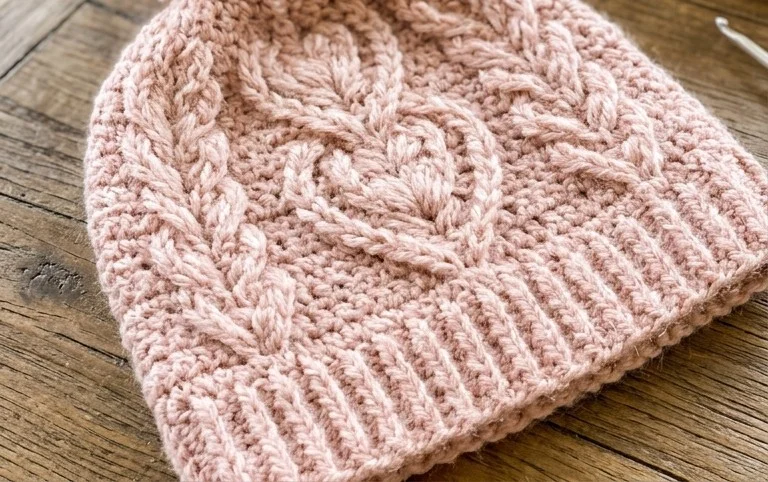
Your finished hat will have a squishy, warm drape that stays comfortable through hours of wear. You can easily switch the main yarn to a variegated wool blend if you want the heart shapes to pop with shifting colors. Posting a photo of your work on Instagram helps other makers see how different color choices change the final look. If you enjoyed this project, check the archives for more winter gear ideas and detailed stitch tutorials. Keeping a steady rhythm with your hook ensures a consistent fit for every hat you complete.