Warm Hug Hat Crochet Pattern: Free Beginner Project
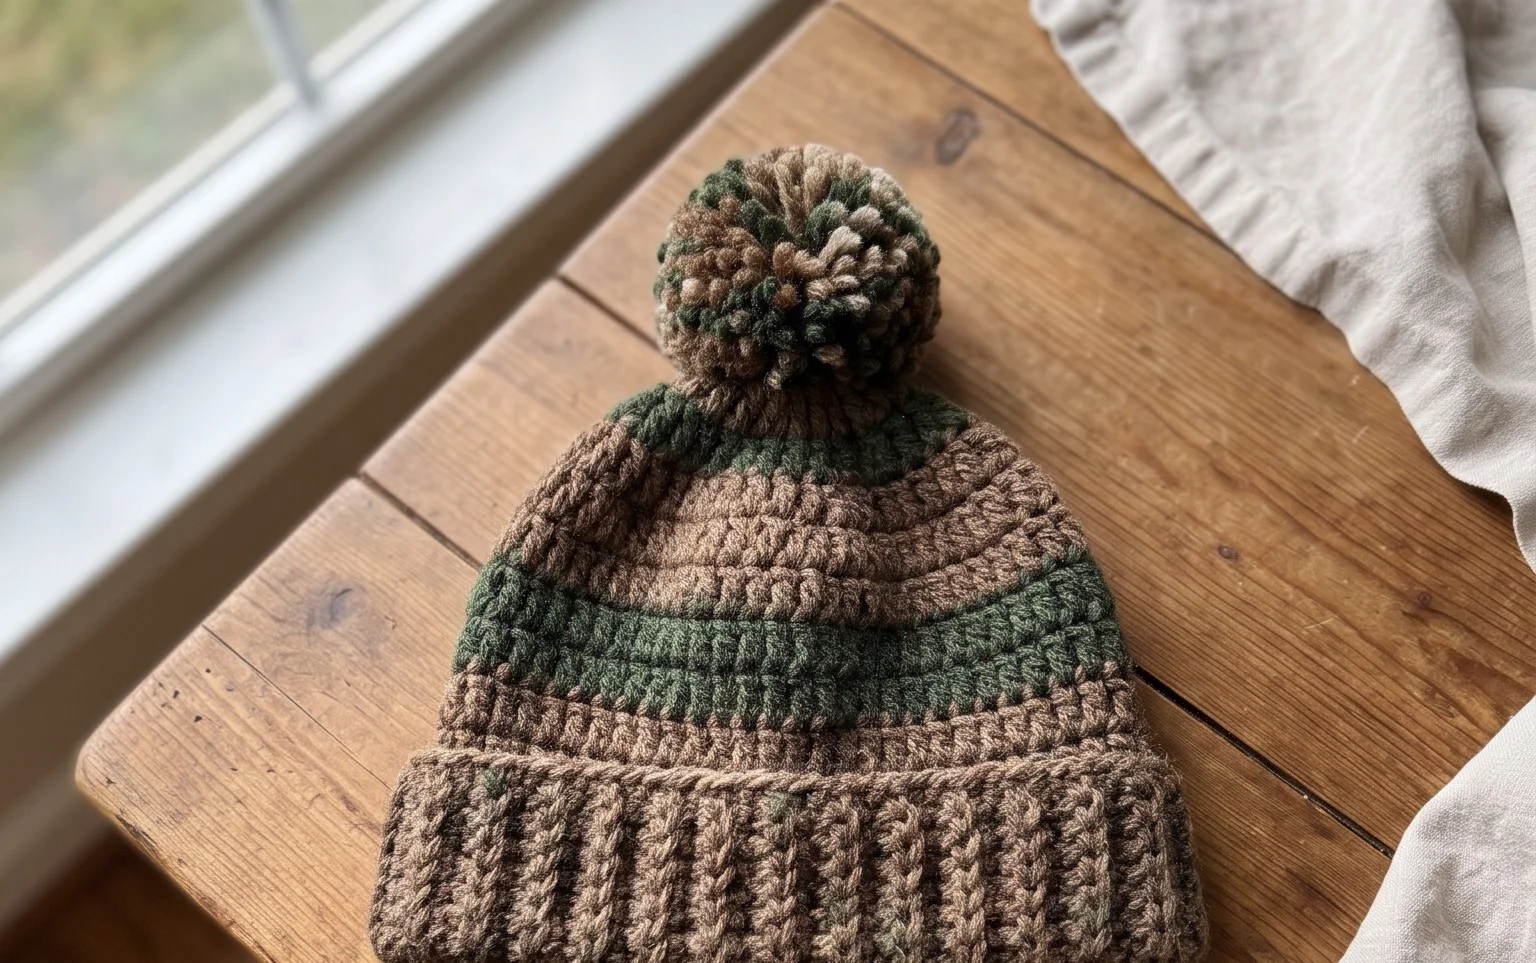
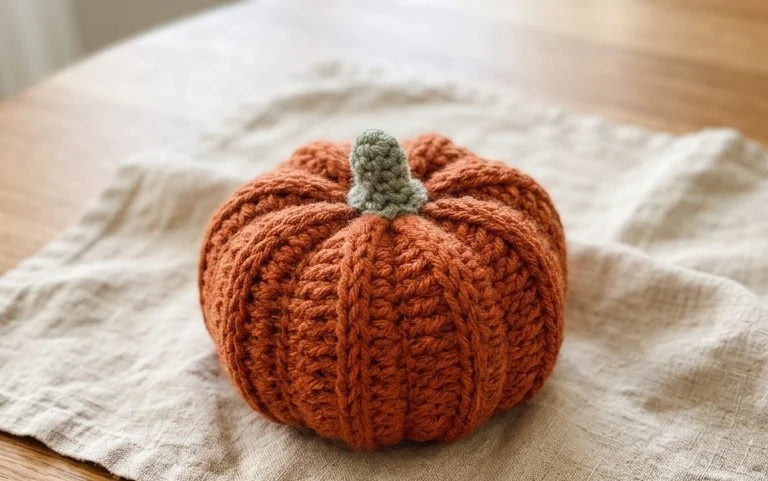
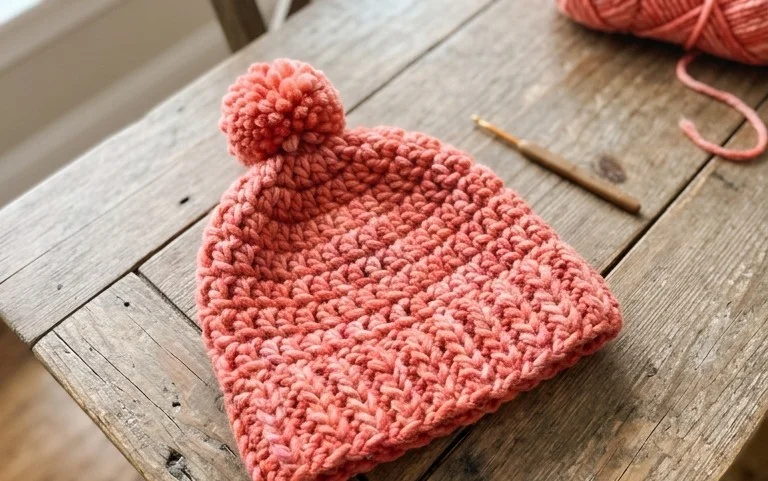
Soft cotton yarn creates this miniature, rounded headpiece that feels dense and squishy in your palm. It works beautifully as a small decorative charm or a personalized gift topper that adds handmade character to any space. The project relies on working in a continuous spiral, which means you avoid the bulky seams often found in round objects. Beginners appreciate the simple rhythm of the single crochet stitches as they build the form round by round. You will learn to manage steady increases and decreases to shape the top, creating a professional result in just one quick afternoon session.
Why Crocheters Love It
This beginner-friendly project works up in under two hours, making it an ideal choice for last-minute handmade gifts. You only need a small amount of yarn, so it is perfect for cleaning out those leftover scraps from larger projects. The pattern relies on basic single crochet stitches worked in a continuous spiral, which removes the need for joining rounds and keeps the fabric clean and professional. Because the structure is small and compact, it is a relaxing, repetitive project you can easily pick up and put down without losing your place.
I managed to finish this little project while watching a single movie. The instructions were very easy to follow and the final piece looks exactly like the photos.
— Sarah, hobbyist crafter
Pattern Overview & Skill Level
- Skill Level: Beginner
- Approximate Time: 1 to 2 hours
- Construction: Amigurumi style, worked in continuous rounds with increasing and decreasing techniques
- Finished Dimensions: Approximately 3 inches tall by 2.5 inches wide
Materials & Supplies Needed
- Yarn: Worsted weight (#4), 100% cotton yarn, approximately 25 yards. Cotton is preferred for amigurumi because it holds its shape well.
- Hook Size: 3.5 mm (E-4) crochet hook. This smaller size ensures the stitches remain tight so the stuffing does not show through.
- Notions: Tapestry needle for weaving ends, stitch markers to track round starts, polyester fiberfill stuffing, and a pair of 6mm safety eyes.
- Yarn substitutions: Acrylic yarn can be substituted for a softer feel, though it may result in a slightly larger, less structured finished item. Wool yarn is not recommended as it can felt over time and is harder to clean.
Stitch Guide & Abbreviations (US Terms)
- MR = magic ring
- ch = chain
- sc = single crochet
- inc = 2 sc in the same stitch (increase)
- dec = sc2tog (single crochet two stitches together to decrease)
- sl st = slip stitch
- st/sts = stitch/stitches
Step-by-Step Pattern Instructions
Main Body
- Rnd 1: 6 sc in MR (6 sts)
- Rnd 2: inc in each st around (12 sts)
- Rnd 3: [1 sc, inc] repeat 6 times (18 sts)
- Rnd 4: [2 sc, inc] repeat 6 times (24 sts)
- Rnd 5-9: sc in each st around (24 sts)
- Rnd 10: [2 sc, dec] repeat 6 times (18 sts)
Attach the safety eyes between Rnd 7 and Rnd 8, spacing them about 4 stitches apart. Begin stuffing the body firmly with fiberfill.
Closing and Finishing
- Rnd 11: [1 sc, dec] repeat 6 times (12 sts)
- Rnd 12: dec 6 times (6 sts)
Fasten off, leaving a 6-inch yarn tail. Thread the tail through your tapestry needle and weave it through the front loops of the remaining 6 stitches. Pull tight to close the opening and knot the yarn securely before burying the remaining end inside the body.
Care & Washing Instructions
- Hand wash your finished item in cool water using a gentle detergent.
- Lay the piece flat on a clean towel to air dry, turning it occasionally to ensure even moisture evaporation.
- Do not iron or bleach, as high heat can melt synthetic fibers or distort the shape of the stuffing.
Pro Tips & Common Mistakes to Avoid
Maintain consistent tension throughout the project to ensure the fabric remains tight; gaps between stitches allow the white fiberfill to peek through, which ruins the polished appearance of amigurumi. Always place a stitch marker in the first stitch of every round to keep track of your count, as it is very easy to lose your place in a continuous spiral. Weave your yarn ends into the interior of the piece rather than the outside to ensure your work looks seamless and professional. If you decide to use a thicker yarn weight, remember to increase your hook size accordingly; otherwise, your stitches will be too stiff to work and your yarn requirements will increase significantly.
Frequently Asked Questions
Can I use a larger hook if I am a tight crocheter?
Yes, if your natural tension is very tight, switching to a 4.0 mm hook can make the work more comfortable. Keep in mind that a larger hook will create larger gaps between your stitches, so you might need to use a denser stuffing to prevent the internal fiberfill from showing.
How do I substitute the safety eyes if I do not have any?
You can easily embroider the eyes using a small length of black cotton yarn and your tapestry needle. Simply stitch a small ‘V’ shape or a French knot where the safety eyes would have been placed to achieve a similar look.
Is this pattern suitable for complete beginners?
This is an excellent project for those who know the basics of single crochet and magic rings. The small size means that if you make a mistake, you can unravel your work quickly without wasting much time or material.
Can I sell the finished items made from this pattern?
Please check the original designer terms included with your specific pattern download. Generally, small-scale sales at craft fairs are acceptable, but you must use your own photographs and credit the pattern designer in your listing.
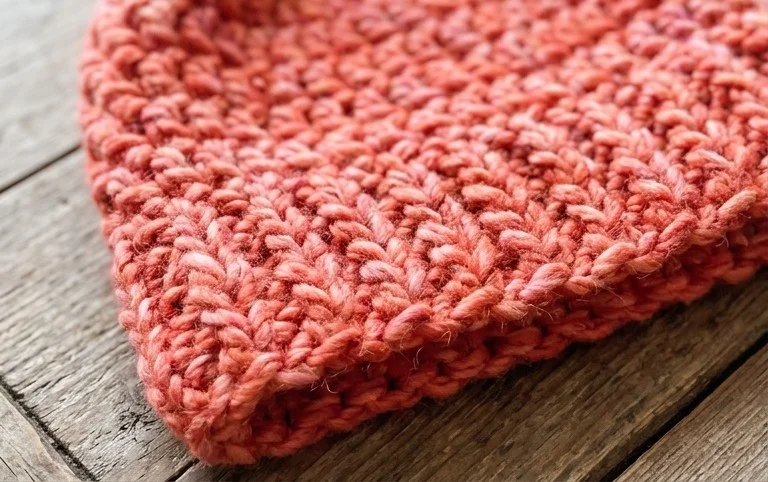
This tiny cap brings a cheerful touch to your desk or bag once the final stitch is secured. Try using a variegated yarn if you want a playful, colorful look that changes with every round. Sharing a photo of your finished work helps others see how your unique color choices turn out, so post a snapshot online. You can find more free patterns similar to this one throughout the blog archives to keep your hooks busy. Experimenting with different cotton weights will also change the final size of your handmade creation.