Andes Beanie: Free Crochet Pattern for Beginners
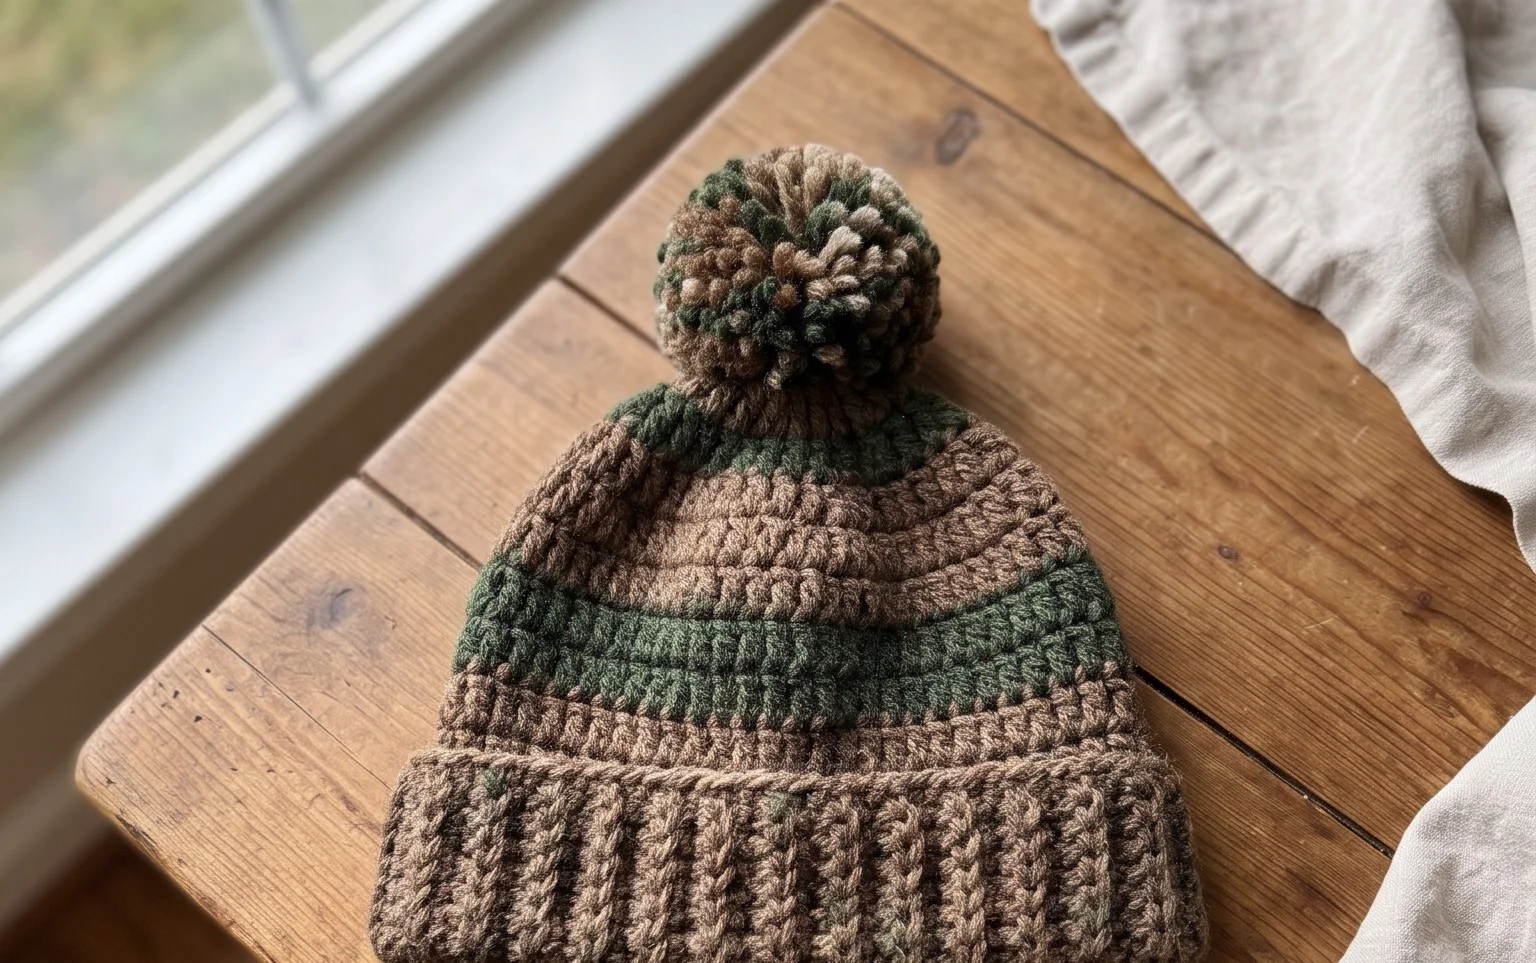
This beanie features a dense, ribbed fabric that keeps ears warm during the coldest months of the year. The soft wool construction gives it a high-quality feel that rivals store-bought accessories, yet it remains achievable for anyone holding a hook for the first time. You will create the hat by working back and forth in rows before joining the edges, a method that avoids the confusion of circular stitching. Whether you are crafting a heartfelt gift or building your own winter wardrobe, this straightforward process offers a meditative experience and a professional finished result every single time.
Why This Project Is Worth Making
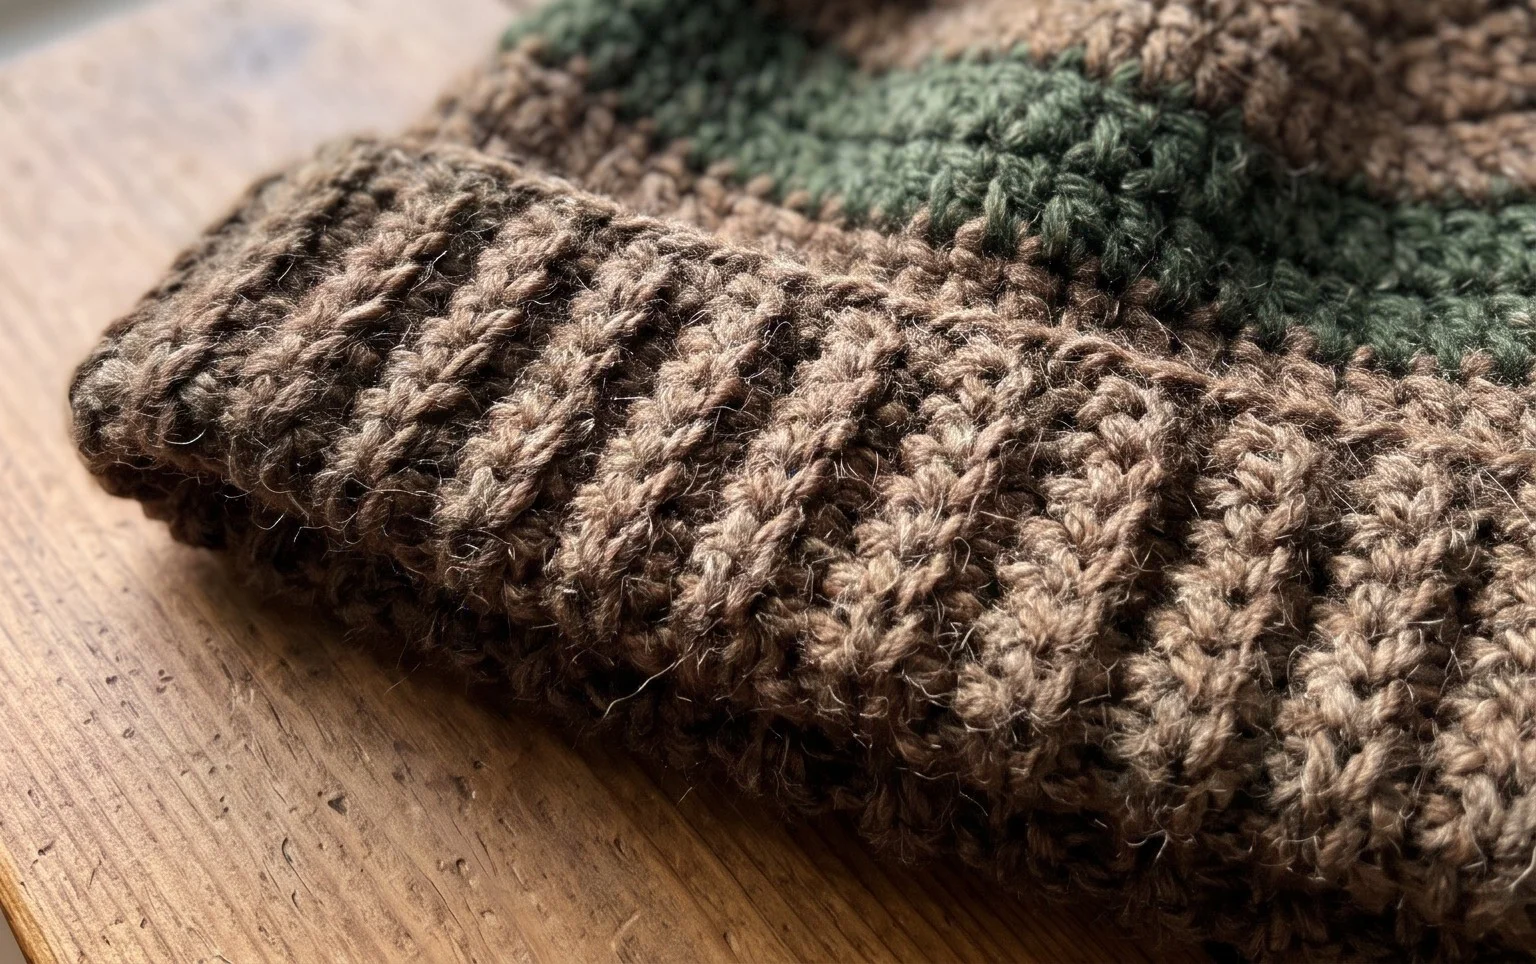
This classic crochet beanie pattern relies on simple half-double crochet stitches worked in the back loops, creating a ribbed, stretchy texture that fits comfortably on most adult heads. It is a one-skein project, making it an excellent choice for using up a premium yarn you have been saving. Because the pattern is worked flat as a rectangle and then seamed, you do not need to manage complicated circular increases or decreasing math. It is a relaxing, repetitive project you can finish in a single weekend.
I finished this hat in two evenings while watching television. The texture is much more professional than I expected for such a simple stitch pattern.
— Sarah, hobbyist crocheter
Pattern Overview & Skill Level
- Skill Level: Beginner
- Approximate Time: 3 to 4 hours
- Construction: Worked as a flat rectangular panel in rows, then seamed along the side and cinched at the top.
- Finished Dimensions: Approximately 9 inches tall by 18 inches in circumference (stretches to fit 21-22 inch head).
Materials & Supplies Needed
- Yarn: Worsted weight (#4), wool or acrylic blend, approximately 200 yards.
- Hook Size: 5.5 mm (US I-9).
- Notions: Large eye tapestry needle, stitch markers, scissors, and an optional pom-pom maker.
- Safe yarn substitutions: You may use a cotton-acrylic blend for better structure, though it will have less natural stretch than wool. A 100% cotton yarn will result in a much heavier, less elastic hat and may require sizing up your hook to 6.0 mm.
Stitch Guide & Abbreviations (US Terms)
- ch: chain
- hdc: half double crochet
- st/sts: stitch/stitches
- BLO: back loop only (insert hook under the back loop of the stitch instead of both loops to create ridges).
- sl st: slip stitch
- FO: fasten off
Step-by-Step Pattern Instructions
Main Hat Panel
- Row 1: Ch 35. Hdc in the third ch from hook and in each ch across. Ch 2, turn. (33 sts)
- Rows 2-50: Hdc in BLO of each st across. Ch 2, turn. (33 sts)
- Finishing: After completing Row 50, do not fasten off. Fold the rectangle in half so that Row 50 meets Row 1. Sl st through both layers across the edge to join the side. Fasten off, leaving a 12-inch tail.
Assembly and Closing
- Thread your tapestry needle with the long yarn tail.
- Weave the needle in and out of every other row end along the top edge of the hat.
- Pull the yarn tail tight to cinch the top hole closed securely.
- Insert the needle through the center of the cinched hole to the inside of the hat and knot it firmly.
- Turn the hat right side out and add a pom-pom to the top if desired.
Care & Washing Instructions
- Hand wash in cool water using a mild wool-safe detergent to preserve the fibers.
- Lay the hat flat on a dry towel and roll it to remove excess moisture; do not wring or twist.
- Reshape the hat while damp and allow it to air dry away from direct sunlight to prevent fading.
Pro Tips & Common Mistakes to Avoid
Maintain consistent tension throughout your rows; if your foundation chain is too tight, the base of your hat will not stretch enough to sit comfortably over your ears. Always count your stitches at the end of every row to ensure you have exactly 33 stitches, as losing a stitch will cause the rectangle to taper into a triangle. Use a stitch marker on the first stitch of each row to help keep track of your work if you are a beginner. If you wish to make the hat larger or smaller, simply add or subtract rows from the length, remembering that each row adds approximately 0.5 inches of circumference.
Frequently Asked Questions
Can I use a different weight of yarn for this pattern?
Changing the yarn weight will significantly alter the finished size and drape. Using a thinner yarn will require significantly more rows to reach the 18-inch circumference, while a bulkier yarn will require fewer rows.
Is this pattern suitable for complete beginners?
Yes, this is an ideal first project. It focuses on a single stitch type and avoids the complexity of working in continuous rounds, which often intimidates new crocheters.
How do I adjust the size of the hat for a child?
To size down, crochet fewer rows to reduce the circumference and start with a shorter foundation chain to reduce the height. A standard child size usually requires a height of 7 to 8 inches.
Can I sell the hats I make from this pattern?
You are welcome to sell finished items made from this pattern. I ask that you credit the design work and use your own original photographs for any online listings.
Your new Andes Beanie stands as a warm, functional piece that will serve you well through many winters. Try holding two strands of lace-weight mohair together instead of one worsted strand if you want an extra fuzzy, ethereal texture for your next version. Posting a photo of your finished work on social media helps other makers find inspiration for their own yarn stashes. Feel free to browse through the rest of the site to find more free projects for your upcoming weekends spent with hook and yarn.