Easy Crochet Basket: Free Step-by-Step Knitting Pattern
This simple basket brings order to cluttered surfaces by combining a dense, fabric-like weave with the sturdy support of a thick cotton cord. The finished container feels firm to the touch, holding its shape upright even when empty, which makes it a practical solution for organizing loose yarn balls or everyday desk supplies. You will work with the waistcoat stitch to mimic the appearance of traditional knitting, creating a clean look that fits well in any room. Whether you are a beginner picking up a hook for the first time or a seasoned crafter needing a quick gift, this project is a joy to complete. You will master the transition from a flat circular base to the upright sides during this process, resulting in a project that is as functional as it is pleasing to the eye.
Why You’ll Love This Pattern
This beginner-friendly project creates a structured, durable crochet basket using the sturdy waistcoat stitch. Because it works in the round with bulky yarn, you can complete the entire basket in a single afternoon, making it an ideal choice for last-minute handmade gifts. The dense fabric naturally holds its shape without the need for stiffeners or plastic inserts, allowing your organizers to stand upright even when empty. You can easily adjust the diameter by increasing the number of rounds in the base, or increase the height by repeating the body rounds.
I managed to finish two of these organizers in one weekend. They are the perfect size for my yarn stash, and the stitches look so neat and professional even though I am relatively new to crochet.
— Sarah, hobbyist crafter
Pattern Overview & Skill Level
- Skill Level: Beginner
- Approximate Time: 2–3 hours
- Construction: Working in continuous rounds for the base, followed by a transition to the waistcoat stitch for the sides to create a knit-like texture.
- Finished Dimensions: 6 inches in diameter by 5 inches tall.
Materials & Supplies Needed
- Yarn: Super Bulky #6, 100% Cotton cord or jersey yarn, approximately 120 yards.
- Hook Size: 8.0 mm (L-11).
- Notions: Large-eye tapestry needle for weaving in ends, a locking stitch marker to track the start of rounds, and sharp scissors.
- Yarn Substitutions: You may use a thick wool roving or a cotton-blend cord. Note that acrylic yarns tend to be stretchier and may result in a floppier basket that does not hold its shape as well as cotton cord.
Stitch Guide & Abbreviations (US Terms)
- ch: chain
- st: stitch
- sl st: slip stitch
- sc: single crochet
- inc: work 2 sc into the same stitch
- waistcoat stitch: also known as the center single crochet (csc). Insert your hook between the legs of the V-shape of the stitch below, yarn over, and pull up a loop, then complete the single crochet as normal.
- MR: magic ring
Step-by-Step Pattern Instructions
Basket Base
- Rnd 1: Start with a MR, work 6 sc into the ring. Tighten to close. (6 sts)
- Rnd 2: 2 sc in each st around. (12 sts)
- Rnd 3: (1 sc, 1 inc) repeat 6 times. (18 sts)
- Rnd 4: (2 sc, 1 inc) repeat 6 times. (24 sts)
- Rnd 5: (3 sc, 1 inc) repeat 6 times. (30 sts)
- Rnd 6: (4 sc, 1 inc) repeat 6 times. (36 sts)
Basket Sides
- Rnd 7: Work into the back loop only (BLO) for this round only. Sc in each st around. (36 sts)
- Rnd 8: Sc in the first stitch of the round, place your marker. Proceed to work in waistcoat stitches for the remainder of the round. (36 sts)
- Rnds 9–15: Continue working in waistcoat stitches in a continuous spiral. Ensure you insert the hook directly into the center of the V-stitch from the previous round. (36 sts)
- Rnd 16: Sl st into each stitch around to create a finished, non-stretching edge. Fasten off. (36 sts)
Finishing
Cut the yarn leaving a 6-inch tail. Use a tapestry needle to weave the yarn tail securely into the interior base of the basket. Ensure the knot or end is hidden within the thick fibers so it does not pull loose with use.
Care & Washing Instructions
- Hand wash in cool water with a mild detergent to prevent the fibers from pilling.
- Gently press the excess water out with a towel, then reshape the basket while damp and allow it to air dry on a flat surface.
- Avoid using a tumble dryer, as high heat can shrink cotton or cause the structural integrity of the basket to sag.
Pro Tips & Common Mistakes to Avoid
- Maintain loose tension: The waistcoat stitch is naturally tight. Keep your working yarn loose to ensure the hook can easily enter the center of each stitch.
- Use a stitch marker: Because the basket is worked in a continuous spiral, the stitch marker is the only way to know where one round ends and the next begins.
- Weaving ends: Always weave your ends into the inside of the base rather than the sides. This keeps the exterior appearance clean and prevents the weight of the basket from pulling at the seams.
- Adjusting size: You can increase the diameter of the base by continuing to add increase rounds (e.g., 5 sc, 1 inc) before starting the sides. Note that every 6 extra stitches added to the circumference will require more total yarn yardage.
Frequently Asked Questions
Can I use a different yarn weight for this pattern?
Yes, but you will need to adjust your hook size to match the yarn weight. For a smaller basket, use a Worsted #4 yarn with a 4.5 mm hook, though the structure will be softer than the one created with super bulky cord.
Why are my waistcoat stitches so hard to pull through?
The waistcoat stitch is denser than a standard single crochet. If you feel you are straining, you likely have a tight tension. Try going up half a hook size to make inserting the hook into the V-center easier.
Is this pattern suitable for complete beginners?
It is excellent for beginners who have mastered the basic single crochet. The biggest challenge is learning to locate the center of the stitch, but it becomes intuitive after the first few rounds.
Can I sell the baskets I make from this pattern?
Yes, you may sell your finished handmade items. Please credit the original pattern design when selling your work online or in local craft markets.
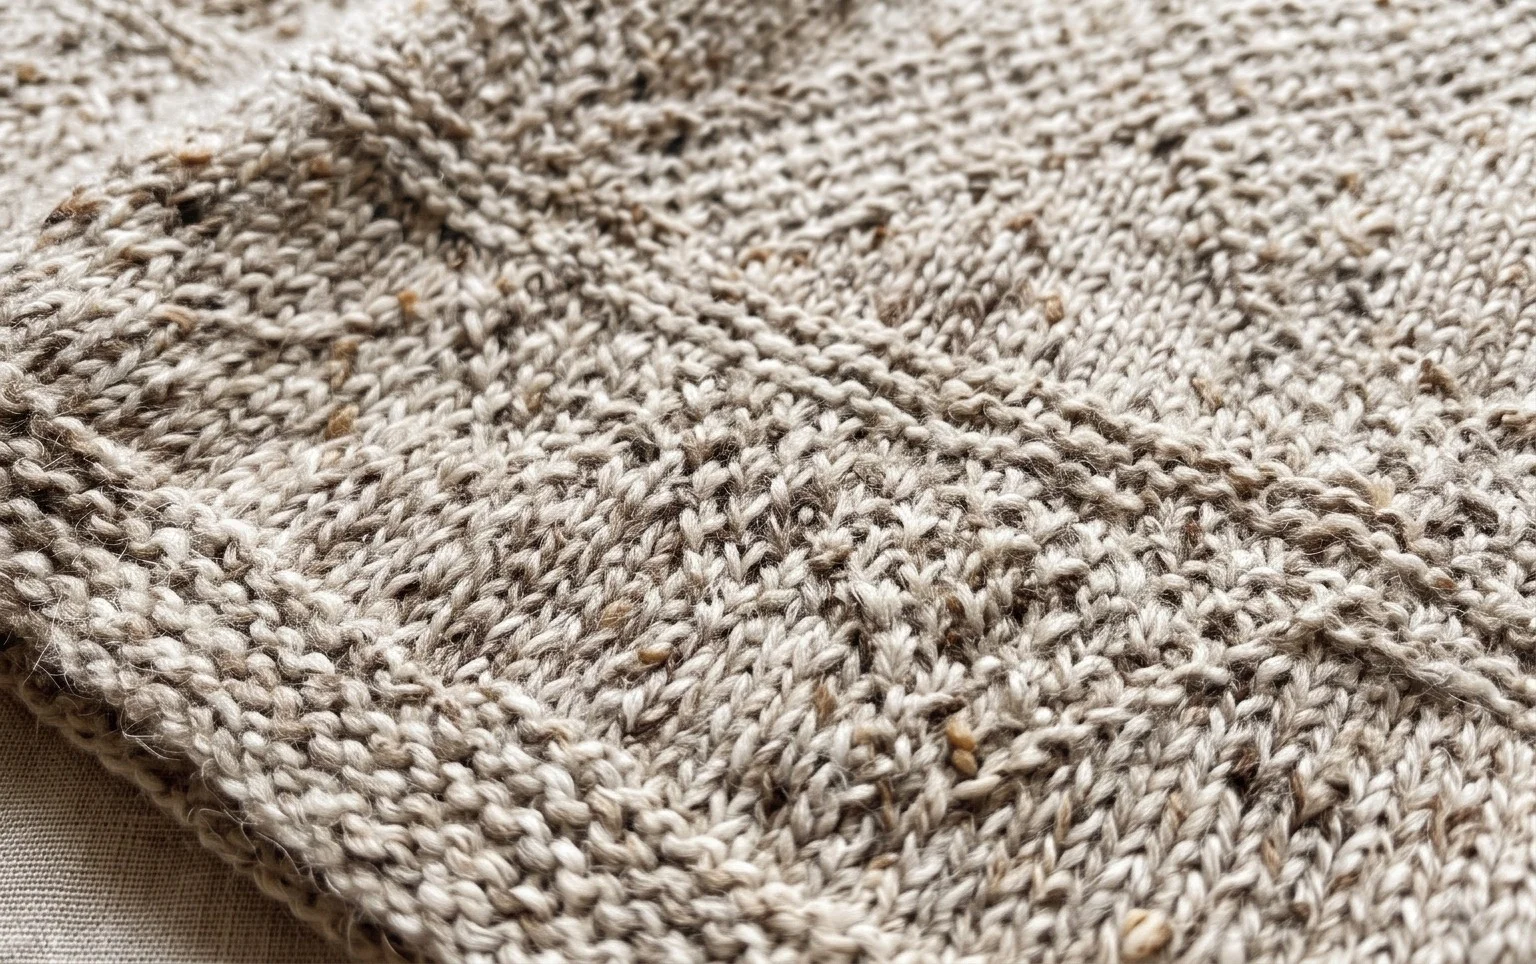
Your finished basket brings a modern touch to any corner of the home, providing a sturdy home for your crafting tools or small trinkets. You might experiment with a two-tone color block design by switching your yarn halfway through the height, or simply make a larger version by adding more increase rounds to the base. Feel free to snap a photo of your creation and share it with the community online. If you want to keep your hands busy with other projects, you can find more free patterns available on the main blog page.