Easy Crochet Sugar Plum Square: Free Christmas Pattern
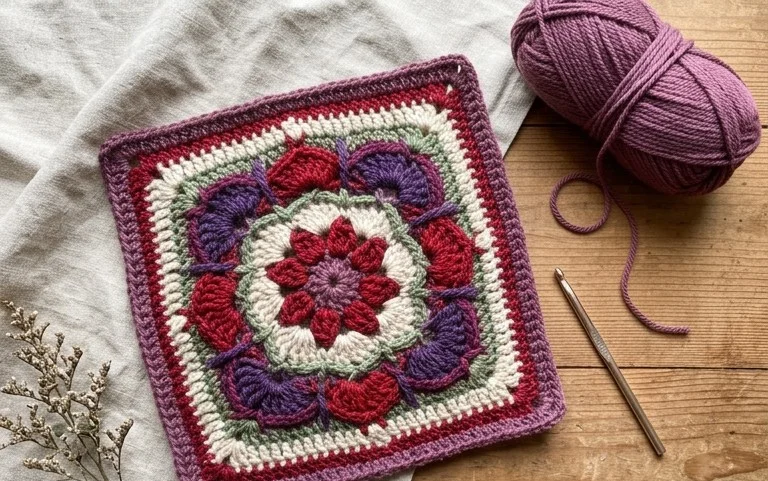
Soft yarn in plum and dusty rose tones works up into a textured, festive square that brings a touch of handmade warmth to any holiday mantle. This project features a classic cluster stitch that creates a dense, squishy fabric, making it a reliable choice for beginners who want to build their confidence. You will work from the center out, adding layers until your square reaches the desired size. It feels sturdy in your hands and looks charming when stitched into blankets or mug rugs. Making these squares is a quiet, rhythmic way to spend a snowy afternoon before the holiday season hits.
Why You’ll Love This Pattern
The Classic Crochet Granny Square is the fundamental building block for countless textile projects, from cozy blankets to lightweight summer garments. This pattern uses a simple three-double-crochet cluster technique that works up quickly, making it an ideal choice for using up leftover yarn scraps from previous projects. Because the pattern grows in rounds, you can easily customize the final size by simply working additional rounds until your piece meets your specific requirements. The rhythmic nature of the stitches creates a meditative flow that is easy for beginners to memorize while remaining satisfying for experienced crocheters.
I managed to finish a whole stack of these in a single weekend. The instructions are so clear that I stopped needing to look at the screen after the third round.
— Sarah, hobbyist maker
Pattern Overview & Skill Level
- Skill Level: Beginner
- Approximate Time: 30 to 45 minutes per square
- Construction: Working in joined rounds from the center outward
- Finished Dimensions: Approximately 6 inches by 6 inches when using worsted weight yarn
Materials & Supplies Needed
- Yarn: Worsted weight (#4), 100% cotton or acrylic blend, approximately 20 yards per square.
- Hook Size: 5.0 mm (US H-8).
- Notions: Tapestry needle for weaving in ends, scissors, and optional stitch markers to track the corners.
- Safe yarn substitutions: You can use DK weight yarn with a 4.0 mm hook for a smaller, denser square, or bulky weight yarn with a 6.0 mm hook for a larger, quicker square. Note that changing the weight will significantly alter the final dimensions and requires adjustments to the number of rounds to reach specific sizes.
Stitch Guide & Abbreviations (US Terms)
- ch = chain
- st = stitch
- sl st = slip stitch
- dc = double crochet
- cluster = a group of 3 dc stitches worked into the same space
- sp = space (the gap created by chains in the previous round)
Step-by-Step Pattern Instructions
The Granny Square
- Foundation: Ch 4, sl st to the first chain to create a center ring.
- Rnd 1: Ch 3 (counts as first dc), work 2 dc into the center ring, ch 2, *3 dc into center ring, ch 2; repeat from * twice more. Join with a sl st to the top of the beginning ch-3. (12 dc, 4 corner spaces)
- Rnd 2: Sl st into the next dc and into the corner sp. Ch 3, 2 dc in same corner sp, ch 2, 3 dc in same corner sp. *Ch 1, (3 dc, ch 2, 3 dc) in next corner sp; repeat from * twice more. Ch 1, join with sl st to top of beginning ch-3. (24 dc, 4 corner spaces, 4 side spaces)
- Rnd 3: Sl st into next 2 dc and into corner sp. Ch 3, 2 dc in same corner sp, ch 2, 3 dc in same corner sp. *Ch 1, 3 dc in next ch-1 side sp, ch 1, (3 dc, ch 2, 3 dc) in next corner sp; repeat from * twice more. Ch 1, 3 dc in final side sp, ch 1, join with sl st to top of beginning ch-3. (36 dc, 4 corner spaces, 8 side spaces)
- Rnd 4 and beyond: Continue in established pattern, working 3 dc, ch 2, 3 dc in each corner and 3 dc in every ch-1 side space along the edges. Maintain ch-1 between side clusters.
Finishing
Once you reach your desired size, fasten off your yarn, leaving a 6-inch tail. Use your tapestry needle to weave the tail back and forth through the back of the stitches to secure it, then trim any excess yarn close to the fabric.
Care & Washing Instructions
- Machine wash on a gentle cycle in cool water with mild detergent.
- Lay the square flat on a clean towel to air dry, reshaping it into a perfect square while damp.
- Use a steam iron or blocking board to flatten the edges and clarify the stitch pattern if the corners begin to curl.
Pro Tips & Common Mistakes to Avoid
Maintain consistent tension by ensuring your yarn is held at an even tightness; if your squares look wavy, your tension might be too loose. Always place a stitch marker in the top of your beginning chain-3 to make the final joining stitch easier to locate at the end of each round. Weave your yarn ends in multiple directions within the clusters to ensure they do not pull out over time with regular use. Remember that adding rounds increases the square size, but also exponentially increases the amount of yarn required for each subsequent round.
Frequently Asked Questions
Can I use a different hook size for this pattern?
Yes, you can adjust the hook size to change the drape of the fabric. A smaller hook creates a tighter, firmer square, while a larger hook creates a softer, more open square.
Is this square suitable for a complete beginner?
Absolutely. The granny square is widely considered the best project for beginners because it introduces basic techniques like chains, double crochets, and working into spaces rather than individual stitches.
How do I change colors between rounds?
To change colors, fasten off at the end of a round and join the new yarn in any corner space with a slip stitch. Begin your chain-3 as directed in the next round instructions using the new color.
Can I sell the squares I make from this pattern?
You are welcome to sell finished items made from this pattern, provided you credit the source. Always check the specific terms provided by the designer regarding commercial use before listing items for sale.
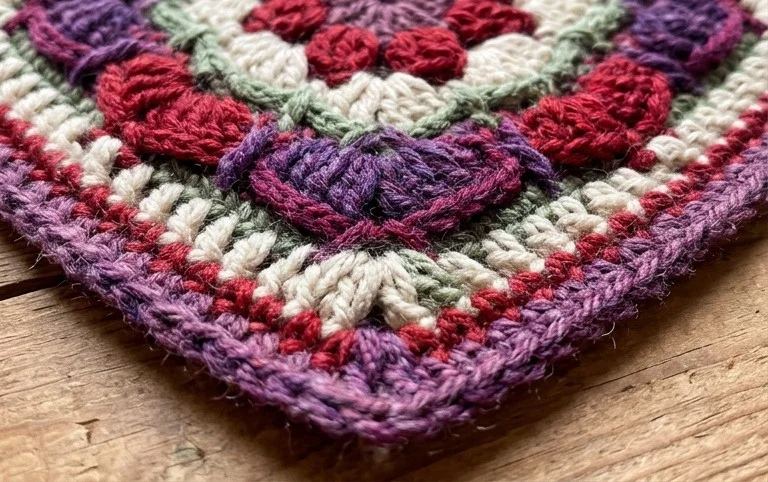
These squares look beautiful when displayed on a coffee table or joined together to form a cozy blanket for the family room. You might try working them in metallic cotton thread for a shimmering, sophisticated finish or use a chunky wool for an extra thick winter cushion. I would love to see how your colors turned out, so please share your finished project on your favorite social media platform. Feel free to browse through the rest of the blog for more seasonal handmade inspiration and patterns for your home.