Easy Prancing Deer Crochet Stocking: Free Beginner Pattern
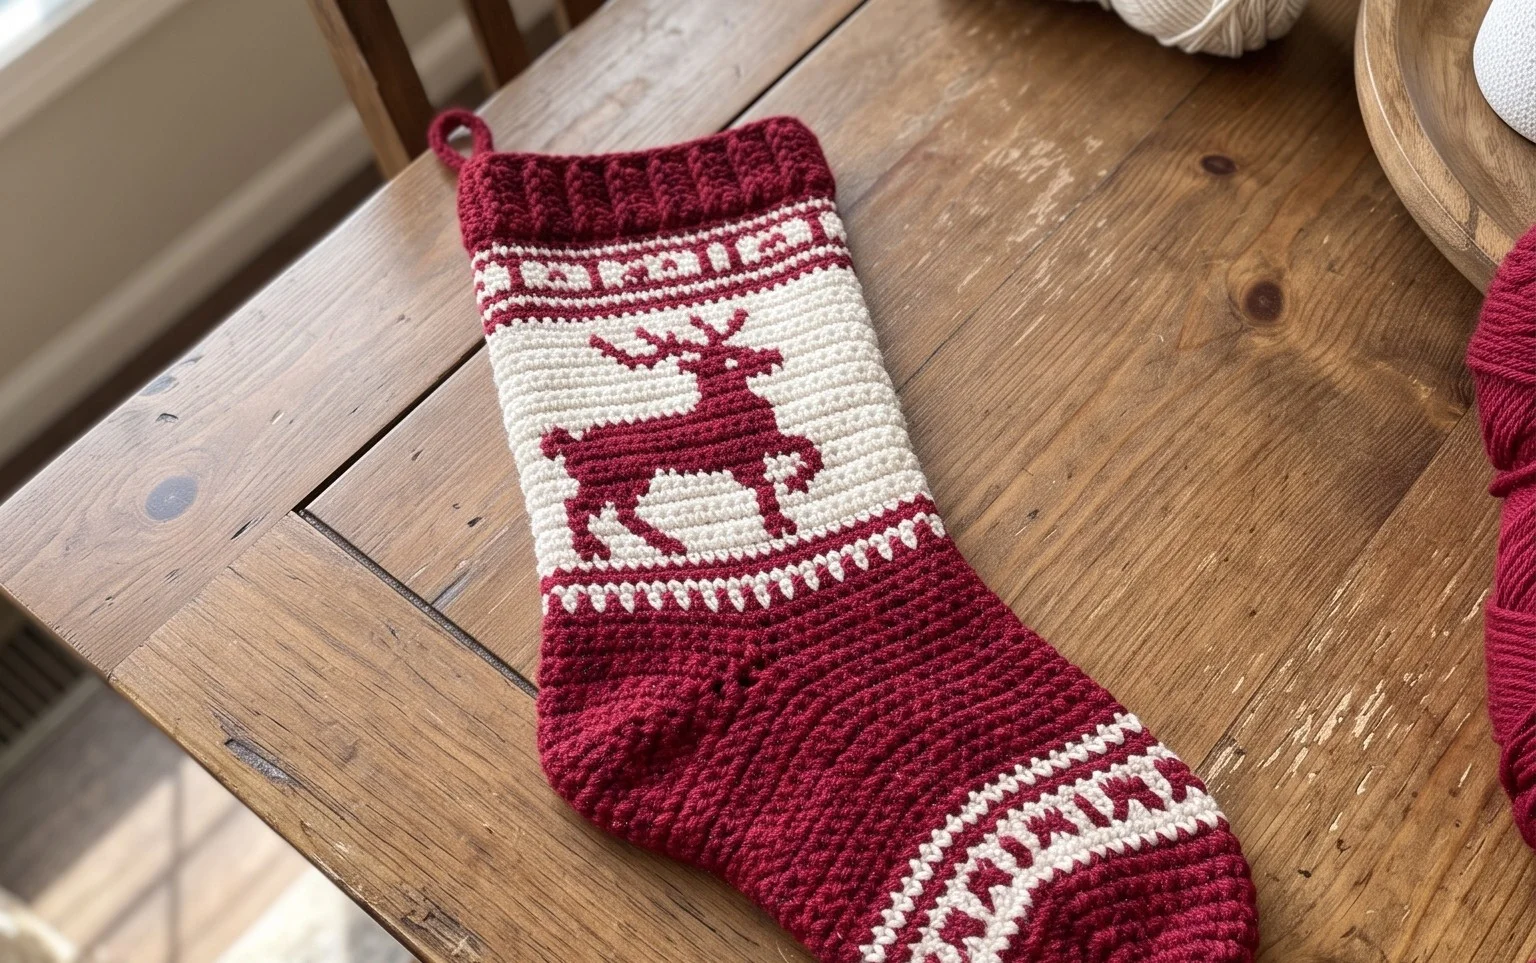
A tiny pair of antlers peeking over the top of a holiday stocking brings a whimsical touch to any fireplace mantle or Christmas tree. This soft, stuffed deer character feels firm to the touch yet remains light enough to hang on a delicate branch. Beginners appreciate how the single crochet stitches build a solid, gap-free surface that keeps the polyester stuffing securely hidden inside. This project turns a few yards of leftover yarn into a charming holiday keepsake. You will master the fundamentals of shaping small items in the round as you create the signature prancing deer design today.
Why This Project Is Worth Making
This beginner-friendly project works up quickly, making it an ideal choice for using up leftover scraps from your stash. The repetitive nature of the single crochet stitches creates a dense, sturdy fabric that holds its shape well, which is essential for 3D amigurumi. Because it uses basic construction methods like a magic ring and simple increases, it serves as a foundational exercise for those new to working in the round. You can complete this entire piece in a single afternoon, providing a satisfying sense of accomplishment without a long-term time commitment.
I finished this pattern over the weekend using some spare cotton yarn. The instructions were very easy to follow and the final piece looks exactly like the photos.
— Sarah, amigurumi enthusiast
Pattern Overview & Skill Level
- Skill Level: Beginner
- Approximate Time: 2 to 3 hours
- Construction: Amigurumi-style continuous rounds using a magic ring and basic increases/decreases
- Finished Dimensions: 4 inches tall by 3 inches wide
Materials & Supplies Needed
- Yarn: Worsted weight (#4) acrylic or cotton yarn, approximately 50 yards total.
- Hook Size: 3.5 mm (E-4) crochet hook to ensure tight stitches that prevent stuffing from showing.
- Notions: Polyester fiberfill stuffing, stitch markers to track rounds, yarn needle for weaving ends, and two 8mm safety eyes.
- Safe yarn substitutions: You may use DK weight yarn with a 3.0 mm hook for a slightly smaller, more refined look. Avoid using bulky yarns as they will make the stuffing visible through the stitches.
Stitch Guide & Abbreviations (US Terms)
- MR: Magic ring
- ch: Chain
- sc: Single crochet
- inc: Increase (work 2 sc in the same stitch)
- dec: Decrease (invisible decrease is recommended: insert hook into front loops of the next two stitches, yarn over, and pull through both, then finish the sc)
- sl st: Slip stitch
- st(s): Stitch(es)
Amigurumi Basics
Working in continuous rounds means you do not join at the end of each round with a slip stitch. Instead, place a stitch marker in the first stitch of every round to keep your place. Always keep your tension consistent to ensure the stuffing does not poke through gaps between stitches.
Step-by-Step Pattern Instructions
Body
- Rnd 1: Start 6 sc into a MR. (6 sts)
- Rnd 2: Inc in each st around. (12 sts)
- Rnd 3: [Sc in 1, inc in next] repeat 6 times. (18 sts)
- Rnd 4: [Sc in 2, inc in next] repeat 6 times. (24 sts)
- Rnd 5: [Sc in 3, inc in next] repeat 6 times. (30 sts)
- Rnd 6-12: Sc in each st around. (30 sts)
- Rnd 13: [Sc in 3, dec in next] repeat 6 times. (24 sts)
- Rnd 14: [Sc in 2, dec in next] repeat 6 times. (18 sts)
- Rnd 15: [Sc in 1, dec in next] repeat 6 times. (12 sts). Insert safety eyes between Rnd 9 and 10, spaced 5 stitches apart. Stuff the body firmly.
- Rnd 16: Dec 6 times. (6 sts)
Finishing
Fasten off, leaving a 6-inch yarn tail. Thread the tail onto a yarn needle and weave it through the front loops of the remaining 6 stitches. Pull tight to close the opening securely and knot the yarn. Hide the end of the yarn inside the body by pushing the needle through the center and out the side, then trimming the excess.
Care & Washing Instructions
- Hand wash gently in cool water using a mild detergent to avoid misshaping the stuffing.
- Lay the piece flat on a clean towel in a shaded area to air dry completely.
- Reshape the piece with your hands while slightly damp if the stuffing has shifted during washing.
Pro Tips & Common Mistakes to Avoid
- Maintain tight tension by holding your yarn firmly, which prevents gaps that show the internal fiberfill.
- Use a stitch marker at the start of every single round to avoid losing count, especially in the early increase rounds.
- Hide yarn ends by pulling them inside the body before you sew the piece closed, which ensures an invisible finish.
- Adjusting the size by adding more increase rounds will require significantly more yarn and will change the proportions of the face, so be prepared to adjust eye placement accordingly.
Frequently Asked Questions
Can I use a different yarn weight for this project?
Yes, but you must adjust your hook size accordingly. Use a hook smaller than what is recommended on the yarn label to keep your stitches tight.
Is it okay to wash this in a machine?
Machine washing is not recommended as the agitator can distort the stuffing and cause the safety eyes to pull or scratch.
How do I make the toy larger?
You can add additional increase rounds, but remember to add an equal number of decrease rounds at the end to ensure the piece closes correctly.
Am I allowed to sell finished items made from this pattern?
Check the designer’s specific terms of use provided with the pattern, as creators have different policies regarding the commercial sale of finished goods.
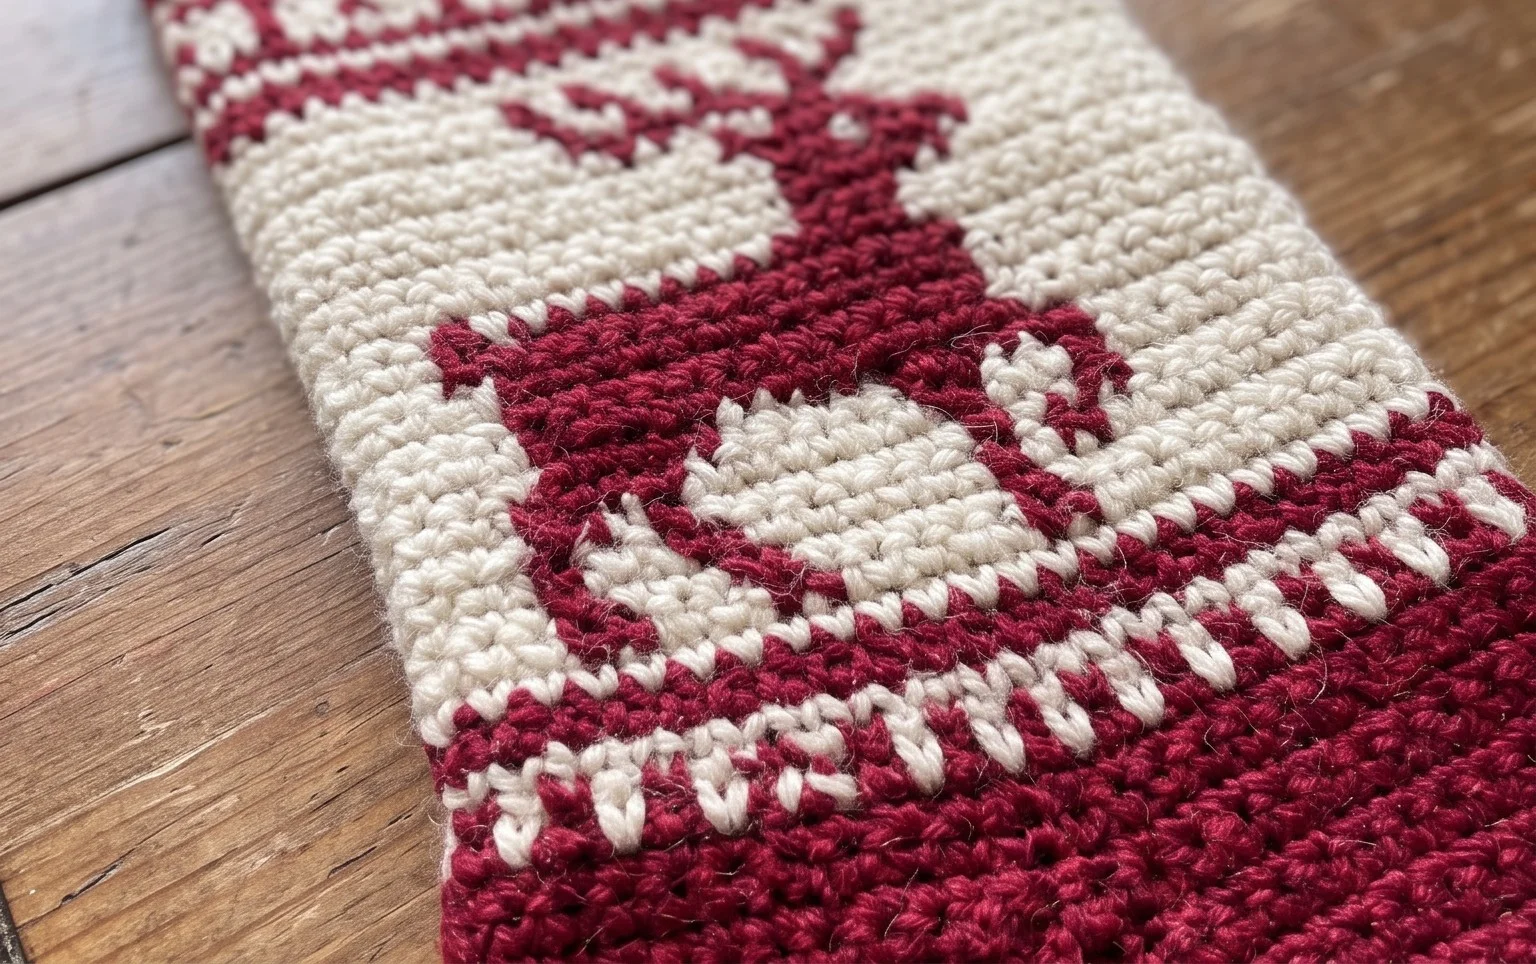
Your finished deer stocking now stands ready to hold small treats or hang as a festive decoration. You can experiment with velvet yarn for a softer texture or stick to cotton for a classic amigurumi look. Seeing your progress makes the process worthwhile, so please upload a photo of your creation to your favorite social media site to share the results. Check the main blog page for more free crochet patterns and holiday projects to fill your crafting queue throughout the upcoming winter season.