Easy Pumpkin Beanie Crochet Pattern: Free Step-by-Step
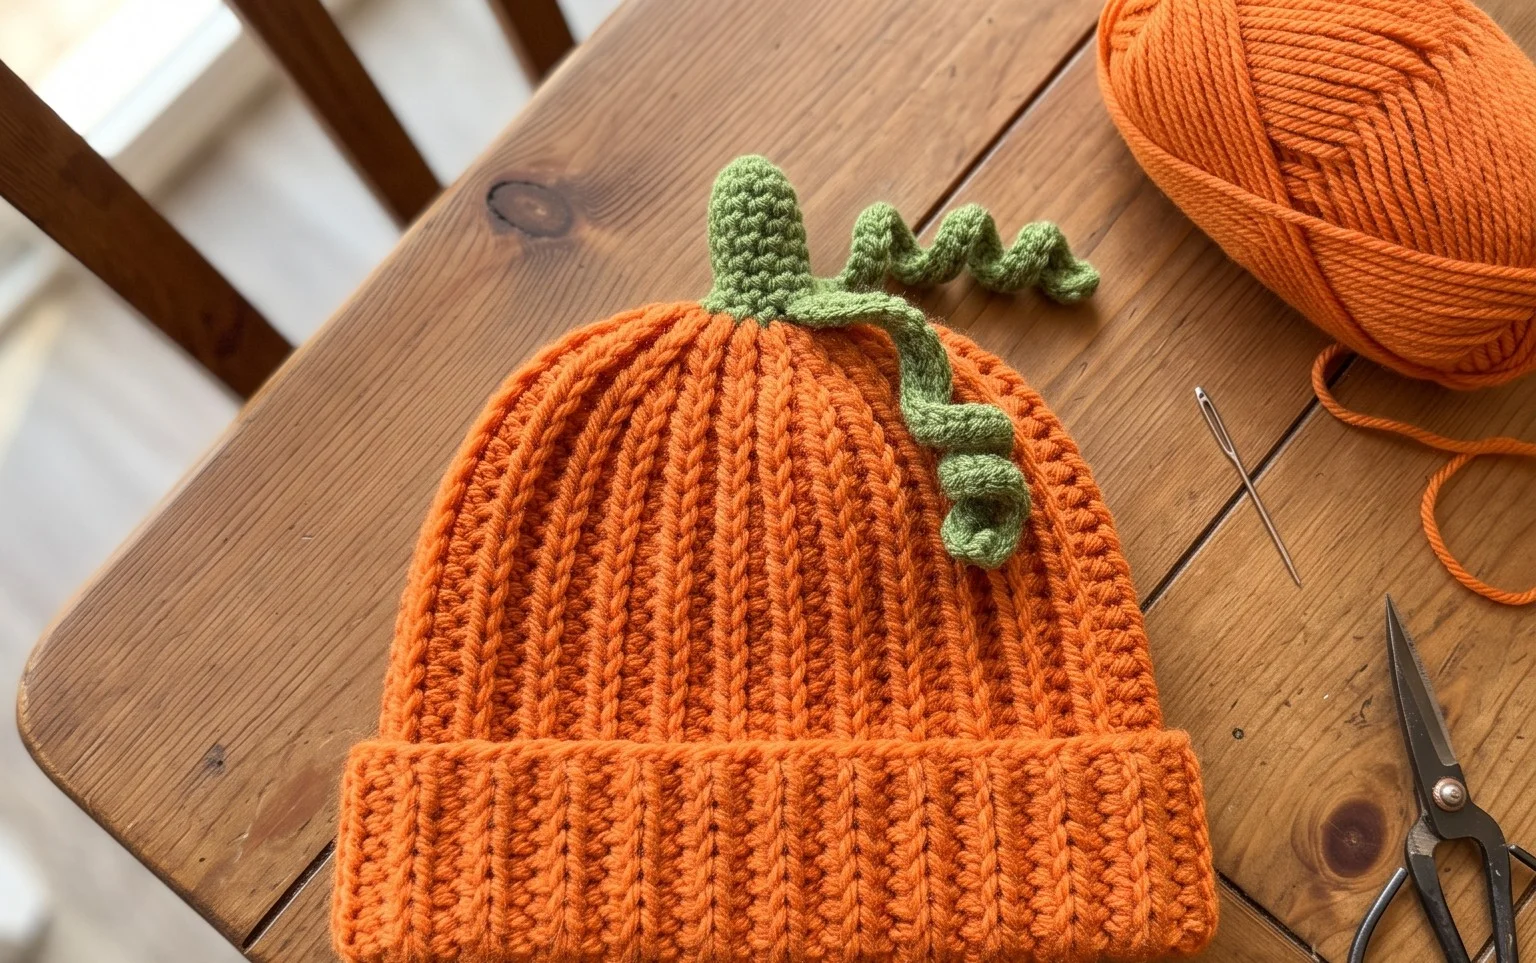
A squishy little pumpkin hat adds warmth to any shelf or small doll during the chilly autumn months. This project features a dense, rounded shape that sits firmly on a flat surface, making it a great addition to seasonal mantel displays. Beginners appreciate the repetitive nature of single crochet stitches worked in a spiral, which avoids those awkward seam lines found in flatter pieces. You spend about two hours working through the rounds, providing a quiet way to clear your head after a long day. Expect a soft, textured finish that feels satisfyingly firm once you add the fiberfill stuffing inside.
Why This Project Is Worth Making
This beginner-friendly project works up in under two hours, making it an ideal choice for last-minute gifts or stash-busting sessions. Because the pattern uses single crochet in continuous rounds, it creates a dense, sturdy fabric that holds its shape without extra internal structure. You only need a small amount of worsted weight yarn, allowing you to use up those leftover balls from previous blankets or garments. The repetitive nature of the stitches creates a meditative rhythm that is easy to pick up and put down as your schedule allows.
I managed to finish this in one sitting while watching a movie. The instructions are very clear, and my finished item looks exactly like the photos.
— Sarah, hobbyist crocheter
Pattern Overview & Skill Level
- Skill Level: Beginner
- Approximate Time: 1 to 2 hours
- Construction: Amigurumi-style continuous rounds starting from a magic ring
- Finished Dimensions: 4 inches tall by 3 inches wide
Materials & Supplies Needed
- Yarn: Worsted #4 weight, 100% acrylic or cotton blend, approximately 30 yards.
- Hook Size: 4.0 mm (G-6).
- Notions: Tapestry needle for weaving ends, stitch marker to track the start of rounds, and fiberfill stuffing.
- Yarn Substitutions: You can use DK weight yarn with a 3.5 mm hook for a smaller, tighter result, or chunky weight yarn with a 5.5 mm hook for a larger, softer item. Using a larger hook than recommended for your yarn weight will result in gaps where stuffing may show through.
Stitch Guide & Abbreviations (US Terms)
- MR: Magic Ring.
- ch: Chain.
- sc: Single crochet.
- inc: Increase (work 2 sc in the same stitch).
- dec: Decrease (insert hook into front loop of next two stitches, yarn over, pull through both loops, yarn over and pull through remaining two loops).
- sl st: Slip stitch.
- st(s): Stitch(es).
Step-by-Step Pattern Instructions
Body
Work in continuous rounds without joining at the end of each round. Use a stitch marker to track the first stitch of every round.
- Rnd 1: Start 6 sc in a MR (6 sts).
- Rnd 2: Inc in each st around (12 sts).
- Rnd 3: [1 sc, inc] 6 times (18 sts).
- Rnd 4: [2 sc, inc] 6 times (24 sts).
- Rnd 5: [3 sc, inc] 6 times (30 sts).
- Rnds 6–12: Sc in each st around (30 sts).
- Rnd 13: [3 sc, dec] 6 times (24 sts).
- Rnd 14: [2 sc, dec] 6 times (18 sts).
Stuffing and Closing
At this stage, fill the body firmly with fiberfill until it reaches your desired shape. Ensure the stuffing is pushed into the base and sides evenly to prevent lumps.
- Rnd 15: [1 sc, dec] 6 times (12 sts).
- Rnd 16: Dec 6 times (6 sts).
Fasten off, leaving a 6-inch tail. Thread the tail onto your tapestry needle and weave it through the front loops of the remaining 6 stitches. Pull tight to close the opening and knot securely. Weave the remaining yarn end into the center of the piece to hide it.
Care & Washing Instructions
- Machine wash on a gentle cycle in cold water using a mesh laundry bag.
- Lay the piece flat on a clean towel to air dry, turning it over halfway through to ensure even drying.
- Gently reshape the piece with your hands while it is damp if it has become slightly compressed during the wash.
Pro Tips & Common Mistakes to Avoid
Maintain consistent tension throughout the project to ensure the stuffing does not poke through the fabric. Use a smaller hook size than the yarn label suggests, which helps create a tighter fabric for items requiring stuffing. Always move your stitch marker to the first stitch of the new round immediately after working it to avoid losing your place. If you decide to adjust the size by adding more increase rounds, remember that each additional round increases the yarn requirement significantly due to the surface area expansion.
Frequently Asked Questions
Can I use a different yarn weight for this pattern?
Yes, you can substitute other yarn weights. Keep in mind that changing the weight will alter the finished size and require a corresponding change in hook size to maintain a tight gauge.
How do I know if I am stuffing the item too much?
If you see the stitches pulling apart or the stuffing showing through the gaps between stitches, you have likely overstuffed the piece. Aim for a firm, smooth feel without visible stress on the yarn.
Is this pattern suitable for complete beginners?
This pattern is excellent for beginners because it focuses on the fundamental single crochet stitch, the magic ring, and basic shaping through increases and decreases.
Am I allowed to sell items made from this pattern?
You are welcome to sell finished items made from this pattern as long as you credit the original design. Please ensure you check the specific usage terms provided by the designer before mass production.
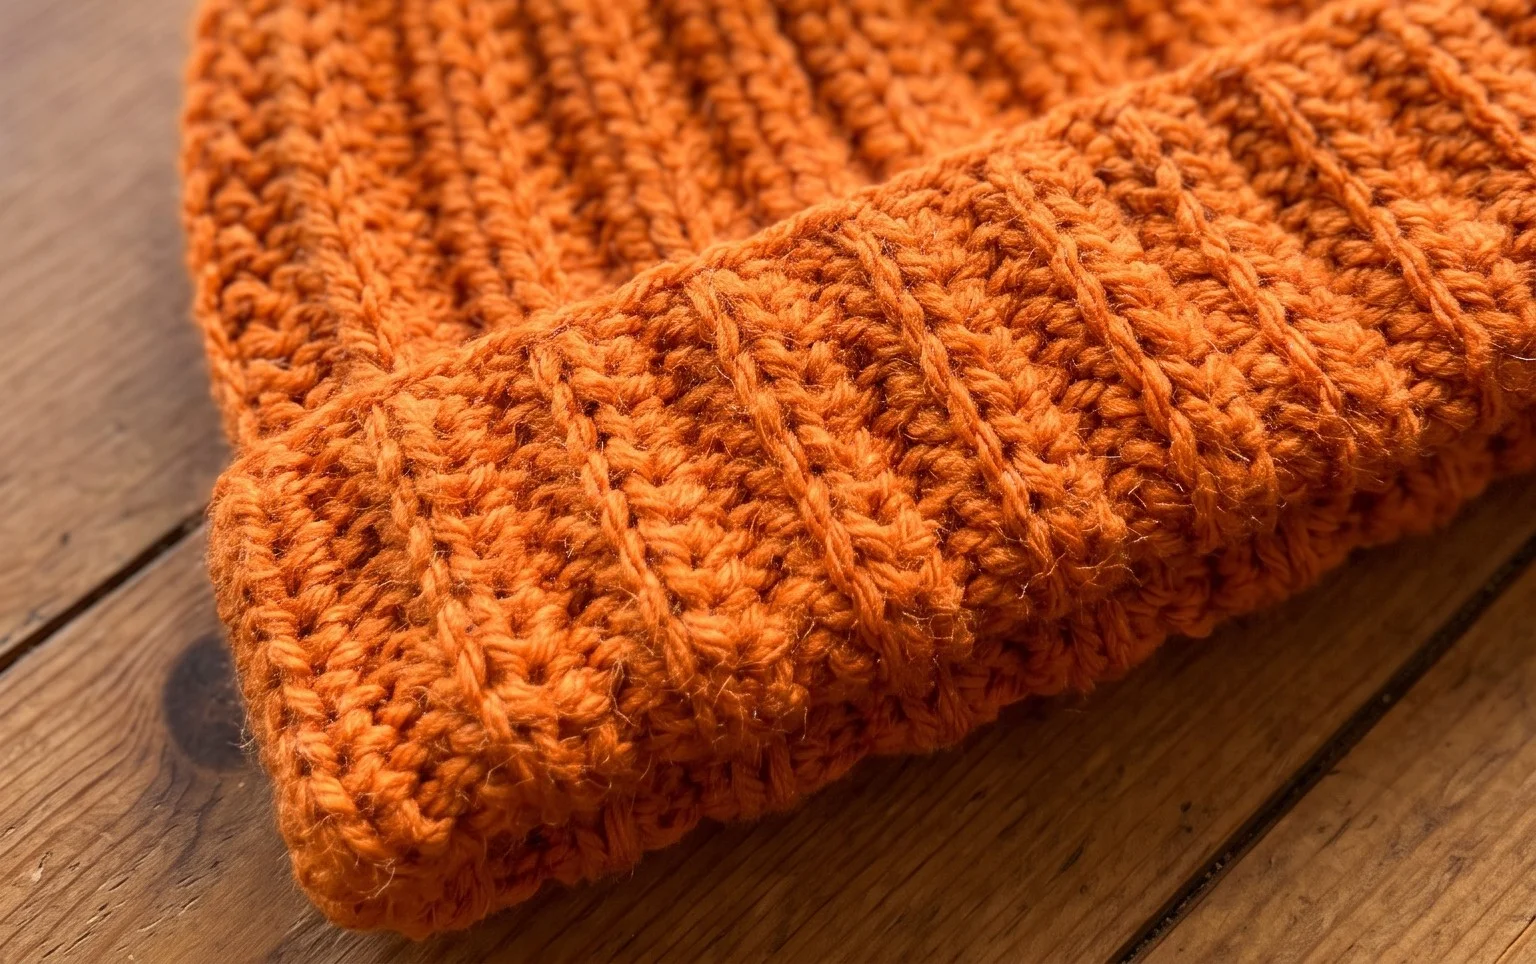
Your finished miniature hat brings a touch of cozy fall charm to your home decor. Try working this in variegated orange or deep brown wool if you want a more rustic appearance for your mantle or table centerpiece. Sharing photos of your handmade items helps others find inspiration for their own yarn stash projects. Tag your finished work on social media so friends can see your progress. Feel free to browse the rest of the blog for more seasonal projects and patterns that fit your current crochet skill level.