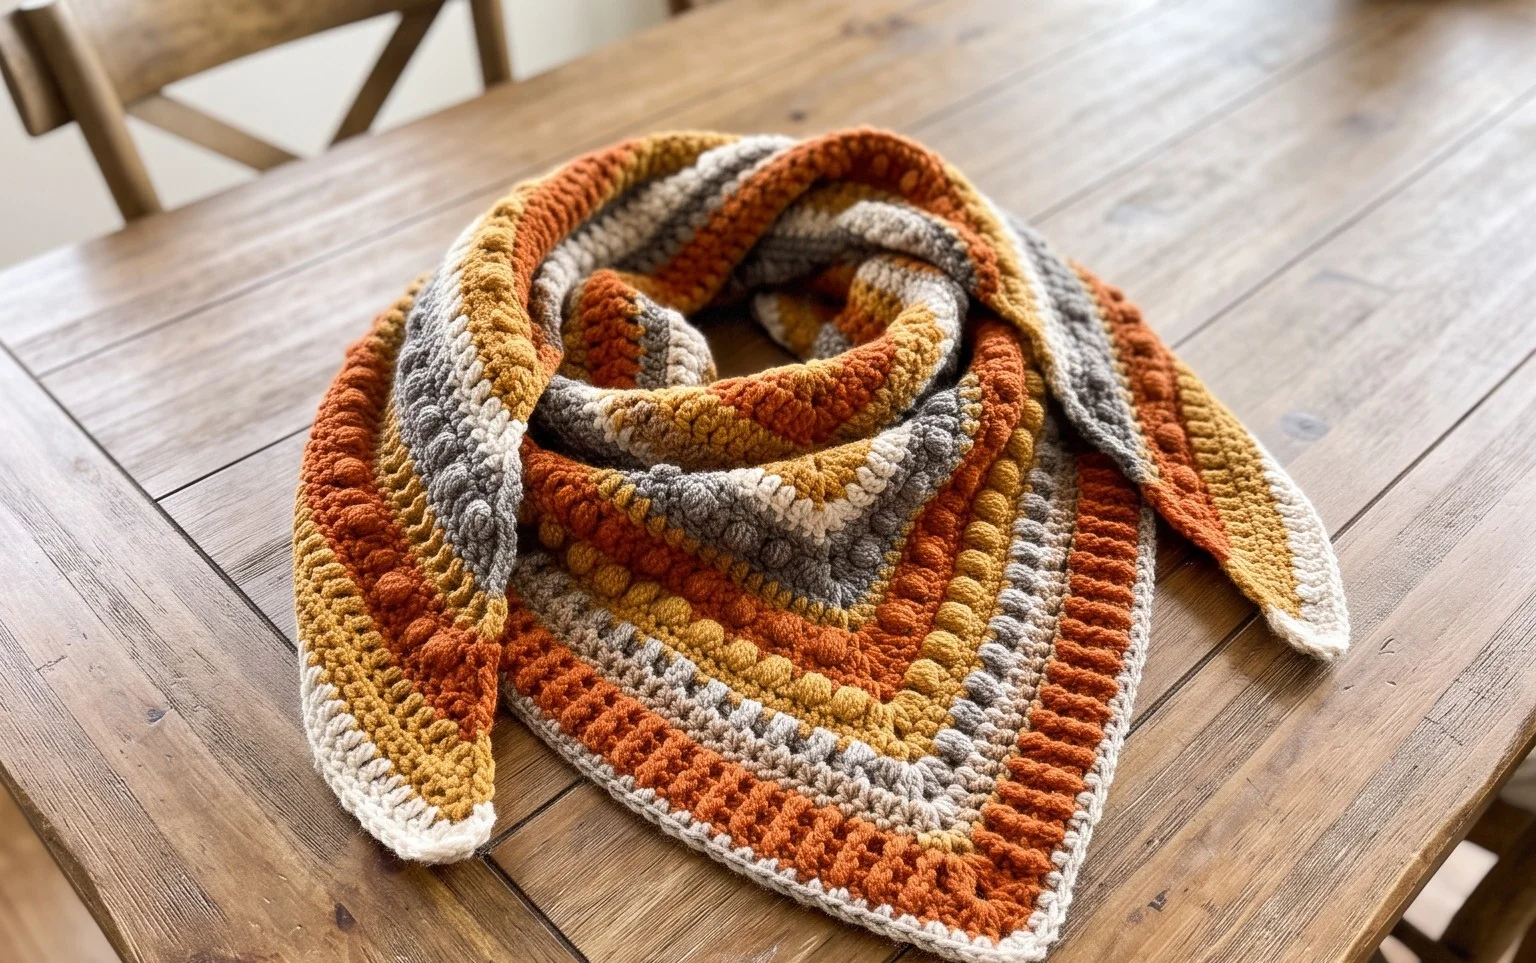
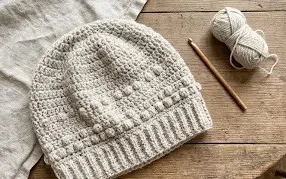
10 Easy Crochet Summer Hats: Free Patterns for Beginners
Lightweight cotton yarn creates a breezy, breathable texture that feels cool against the skin during hot afternoons. These headpieces offer a simple way to shade your face while practicing basic shaping techniques like increasing and decreasing in the round. Whether you plan to wear one at the beach or give it as a handmade gift, the rhythmic motion of stitching single or half double crochet rounds provides a calming escape. You will learn to build structured brims that hold their shape effectively. Expect a satisfying process that transforms a single skein of natural fiber into a wearable accessory for sunny days.
Why You’ll Love This Pattern
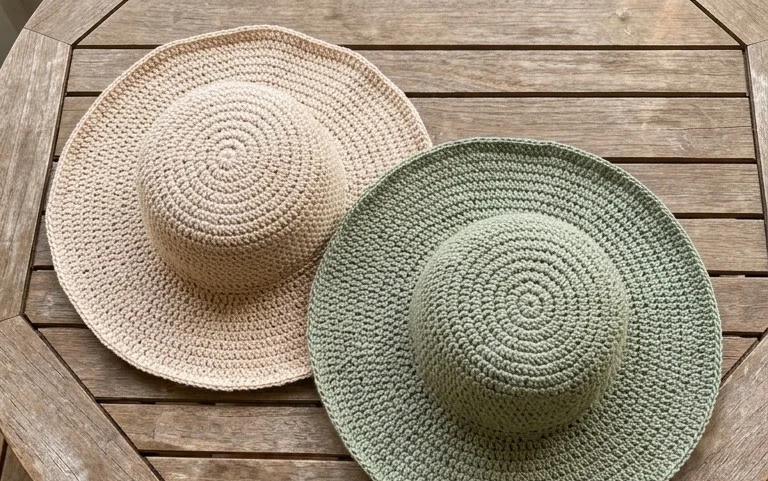
This crochet ribbed beanie pattern uses a simple construction method that mimics a professional knit-look finish using only a basic half double crochet stitch. Because it is worked in a flat rectangle and then seamed, it provides a meditative, repetitive rhythm perfect for working on while listening to an audiobook or catching up on television. The ribbing creates excellent natural elasticity, allowing the hat to fit a wide range of head sizes comfortably without losing its shape. Beginners will find this project rewarding because it eliminates the need for complex increases or decreases in the round, making it a reliable way to practice tension control.
I finished this hat in one evening and it fits my head perfectly because the ribbing is so stretchy. It looks exactly like the expensive beanies in stores and feels much softer.
— Sarah, hobbyist crocheter
Pattern Overview & Skill Level
- Skill Level: Beginner
- Approximate Time: 3 to 5 hours
- Construction: Worked as a flat rectangle in rows, then seamed along the side and cinched at the top.
- Finished Dimensions: 9 inches wide by 11 inches tall (laying flat, including the brim fold).
Materials & Supplies Needed
- Yarn: Worsted weight (#4), wool or acrylic blend, approximately 220 yards.
- Hook Size: 5.5 mm / I-9.
- Notions: Tapestry needle, locking stitch marker, scissors, and a measuring tape.
- Safe yarn substitutions: Cotton yarn can be used but will result in a heavier, less stretchy hat. If using a thinner sport weight yarn, increase the hook size and add 10 extra foundation chains to compensate for the reduced bulk.
Stitch Guide & Abbreviations (US Terms)
- ch = chain
- hdc = half double crochet
- sl st = slip stitch
- BLO = back loop only (insert hook under the back loop of the stitch only, leaving the front loop visible to create the ribbing texture).
- st/sts = stitch/stitches
Step-by-Step Pattern Instructions
Main Body
- Row 1: Ch 45. Hdc in the third ch from hook and in each ch across. Turn. (43 sts)
- Row 2: Ch 2 (does not count as st). Hdc in the BLO of each st across. Turn. (43 sts)
- Rows 3–60: Repeat Row 2 until the piece measures 18 inches wide when slightly stretched.
Assembly
- Fold the rectangle in half so the short edges meet. Slip stitch the edges together through both layers to create a tube. Fasten off, leaving a 12-inch tail of yarn.
- Thread the tail onto a tapestry needle. Weave the yarn in and out along one of the open edges of the tube.
- Pull the yarn tail tight to cinch the top of the hat closed. Secure with several knots on the inside of the hat.
- Weave in all remaining ends securely.
Care & Washing Instructions
- Hand wash in cool water using a mild wool-safe detergent to preserve the elasticity of the fibers.
- Lay the hat flat on a clean towel to air dry, reshaping it while damp to ensure the ribbing sits straight.
- Do not hang the hat to dry, as the weight of the water can cause the fabric to stretch out of shape permanently.
Pro Tips & Common Mistakes to Avoid
Maintaining consistent tension is the most important factor in keeping the ribbing uniform across the entire hat. If your stitches start to look loose, slow down your speed and ensure you are pulling the yarn snug against the hook after every single hdc. Use a stitch marker at the end of every row to ensure you are catching the final stitch; it is a common mistake for beginners to accidentally skip the last stitch, which causes the edges of the rectangle to taper inward.
Weaving in ends correctly prevents the hat from unraveling during use. Always weave your ends back and forth through at least three different directions within the fabric to lock the yarn securely in place. If you find the hat is too small during the process, you can easily adjust the size by adding more rows to the width before you seam the sides together, though keep in mind this will require more total yardage.
Frequently Asked Questions
Can I use a larger hook for this pattern?
Yes, using a larger hook will create a softer, drapier fabric, but the hat will be larger and less structured. Test your gauge with a small swatch first to ensure you are happy with the resulting density.
Is it possible to sell items made from this pattern?
You are welcome to sell finished items created from this pattern. I ask that you credit the designer and use your own photographs when listing items for sale online.
How do I know if I have enough yarn?
This pattern requires 220 yards of worsted weight yarn. If you are close to that amount, weigh your yarn ball before you begin and periodically check your usage to ensure you have enough for the final seaming and cinching.
What if my ribbing looks uneven?
Uneven ribbing usually results from inconsistent tension in the back loop only stitches. Practice keeping your loop height uniform, and ensure you are not accidentally skipping the very last stitch of each row, which creates a messy edge.
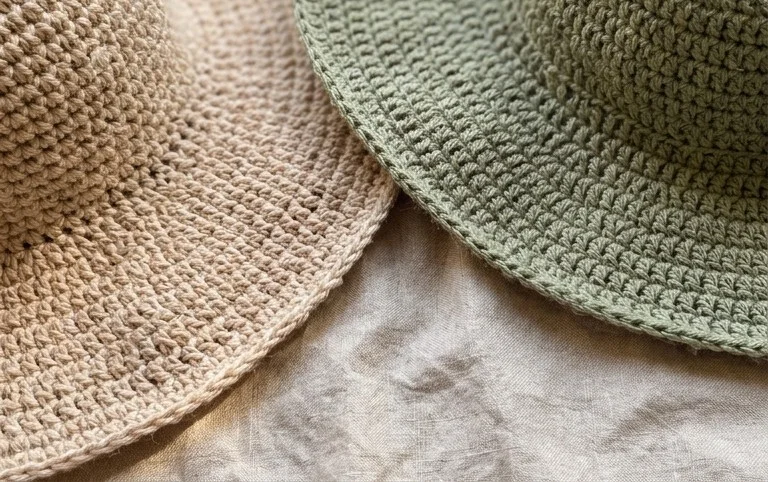
Seeing your finished accessory come to life with just a few rows of yarn is a rewarding experience. Try working these in a muted sage green or a sunny mustard yellow to match your seasonal wardrobe better. You can adjust the brim width by adding extra increase rows if you prefer more shade. Posting a photo of your work on Instagram helps others find inspiration for their own handmade projects. Check back on the blog regularly for more free patterns to fill your creative time all year long.