Easy Spring Crochet: Beginner Amigurumi Pattern Tutorial
This tiny cotton character feels firm and smooth in your hand, making it a cheerful companion for a sunny windowsill or a desk workspace. Beginners often appreciate how the compact structure helps them master the invisible decrease, a technique that hides unsightly gaps in plush projects. Because this item requires so little material, you can turn leftover scrap yarn into a thoughtful gift for a friend on a quiet Saturday afternoon. Working in continuous rounds creates a seamless surface that hides messy transitions. You will learn the basics of sculpting volume and managing tension through every single loop.
Why Crocheters Love It
This beginner-friendly project works up quickly, making it a reliable choice for last-minute gifts or stash-busting sessions. The structure relies on simple increases and decreases, which helps build muscle memory for those new to three-dimensional shaping. Because it uses a small amount of yarn, you can experiment with premium fibers or luxury colorways without a large financial commitment. The result is a sturdy, functional item that maintains its shape well over time.
I managed to complete this pattern in a single weekend. The instructions were easy to follow and my finished piece looks exactly like the photos.
— Sarah, hobbyist crafter
Pattern Overview & Skill Level
- Skill Level: Beginner
- Approximate Time: 2 to 3 hours
- Construction: Amigurumi style, worked in continuous rounds
- Finished Dimensions: 4 inches tall by 3 inches wide
Materials & Supplies Needed
- Yarn: Worsted weight (#4), 100% acrylic or cotton, approximately 30 yards.
- Hook Size: 4.0 mm (G-6) crochet hook.
- Notions: Tapestry needle, stitch marker, polyester fiberfill stuffing, scissors.
- Yarn Substitutions: Wool or wool blends work well but will result in a slightly firmer structure. Avoid bulky weight yarns unless you adjust your hook size to maintain a tight gauge that prevents the stuffing from showing through.
Stitch Guide & Abbreviations (US Terms)
- MR: Magic ring
- ch: Chain
- sc: Single crochet
- inc: Increase (work 2 sc in the same stitch)
- dec: Decrease (work 2 sc together using the invisible decrease method)
- sl st: Slip stitch
- st(s): Stitch(es)
Step-by-Step Pattern Instructions
Body
- Rnd 1: Start 6 sc into a magic ring (6 sts).
- Rnd 2: Inc in each st around (12 sts).
- Rnd 3: [Sc in next st, inc in next st] 6 times (18 sts).
- Rnd 4: [Sc in next 2 sts, inc in next st] 6 times (24 sts).
- Rnd 5-10: Sc in each st around (24 sts).
- Rnd 11: [Sc in next 2 sts, dec in next st] 6 times (18 sts).
- Rnd 12: [Sc in next st, dec in next st] 6 times (12 sts).
At this stage, begin adding the fiberfill. Stuff the piece firmly, ensuring the bottom is flat and the sides are even. Use the end of your crochet hook to push stuffing into the corners.
- Rnd 13: Dec 6 times (6 sts).
Finishing
Cut the yarn, leaving a 6-inch tail. Thread the tail onto a tapestry needle and weave it through the front loops of the remaining 6 stitches. Pull the tail tight to close the opening completely. Secure the yarn with a knot and bury the remaining end inside the body of the project.
Care & Washing Instructions
- Machine wash in a mesh garment bag on the gentle cycle using cold water.
- Lay the piece flat on a towel to air dry, turning it occasionally to ensure even evaporation.
- Avoid wringing or twisting the piece, as this can permanently distort the fiberfill stuffing inside.
Pro Tips & Common Mistakes to Avoid
Maintaining tight tension is vital for amigurumi; if your stitches feel loose, try going down one hook size. Always place a stitch marker in the first stitch of every round to keep track of your progress, as the spiral construction can make it difficult to identify the start. When weaving in ends, pass the needle back and forth through the interior of the piece several times to ensure the tail does not work its way out. You can adjust the final size by adding or subtracting rounds before the decrease section, though keep in mind this will require slightly more or less yarn respectively.
Frequently Asked Questions
Can I use a larger hook for this pattern?
Using a larger hook will result in a larger finished item, but it will create gaps between your stitches where the stuffing will show through. It is recommended to use the suggested hook size for the best results.
Is this project suitable for children?
This item is generally safe, but if you choose to add small accessories like safety eyes or buttons, ensure they are securely attached or omitted if the item is intended for infants to prevent choking hazards.
Can I sell the items I make from this pattern?
Yes, you are welcome to sell finished pieces created from this pattern. Please provide credit to the designer in your product listings to help support the work.
How do I fix a mistake in the middle of a round?
If you notice a missed stitch or a count error, it is best to carefully unravel the yarn back to the point where the error occurred. Forcing the next round to work with an incorrect stitch count will cause the final shape to be lopsided.
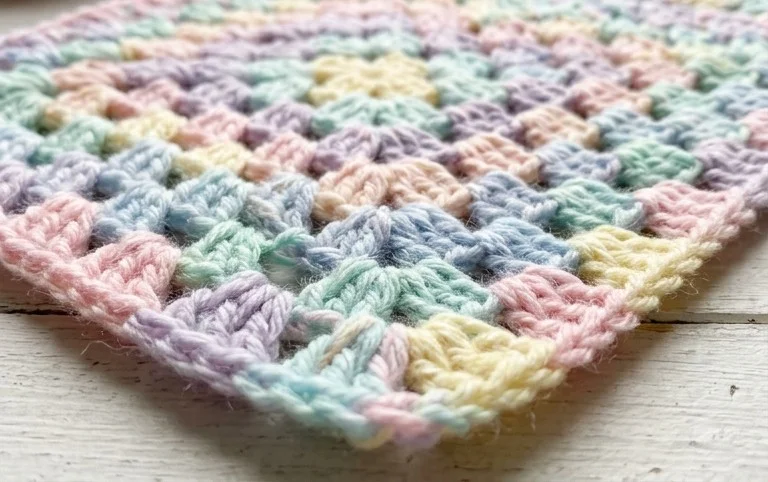
Your new crochet friend sits securely on a flat surface, ready to brighten up any corner of your home. If you want to experiment, try working this pattern in a fuzzy mohair blend to create a soft, cloud-like texture instead of the standard cotton finish. Sharing a photo of your finished work helps other makers find inspiration for their own spring projects. Please visit the main archives on this blog to discover more free patterns that suit your growing skill set and help you clear out your yarn bins.