Beginner Crochet Beanie: Easy Free Pattern and Tutorial
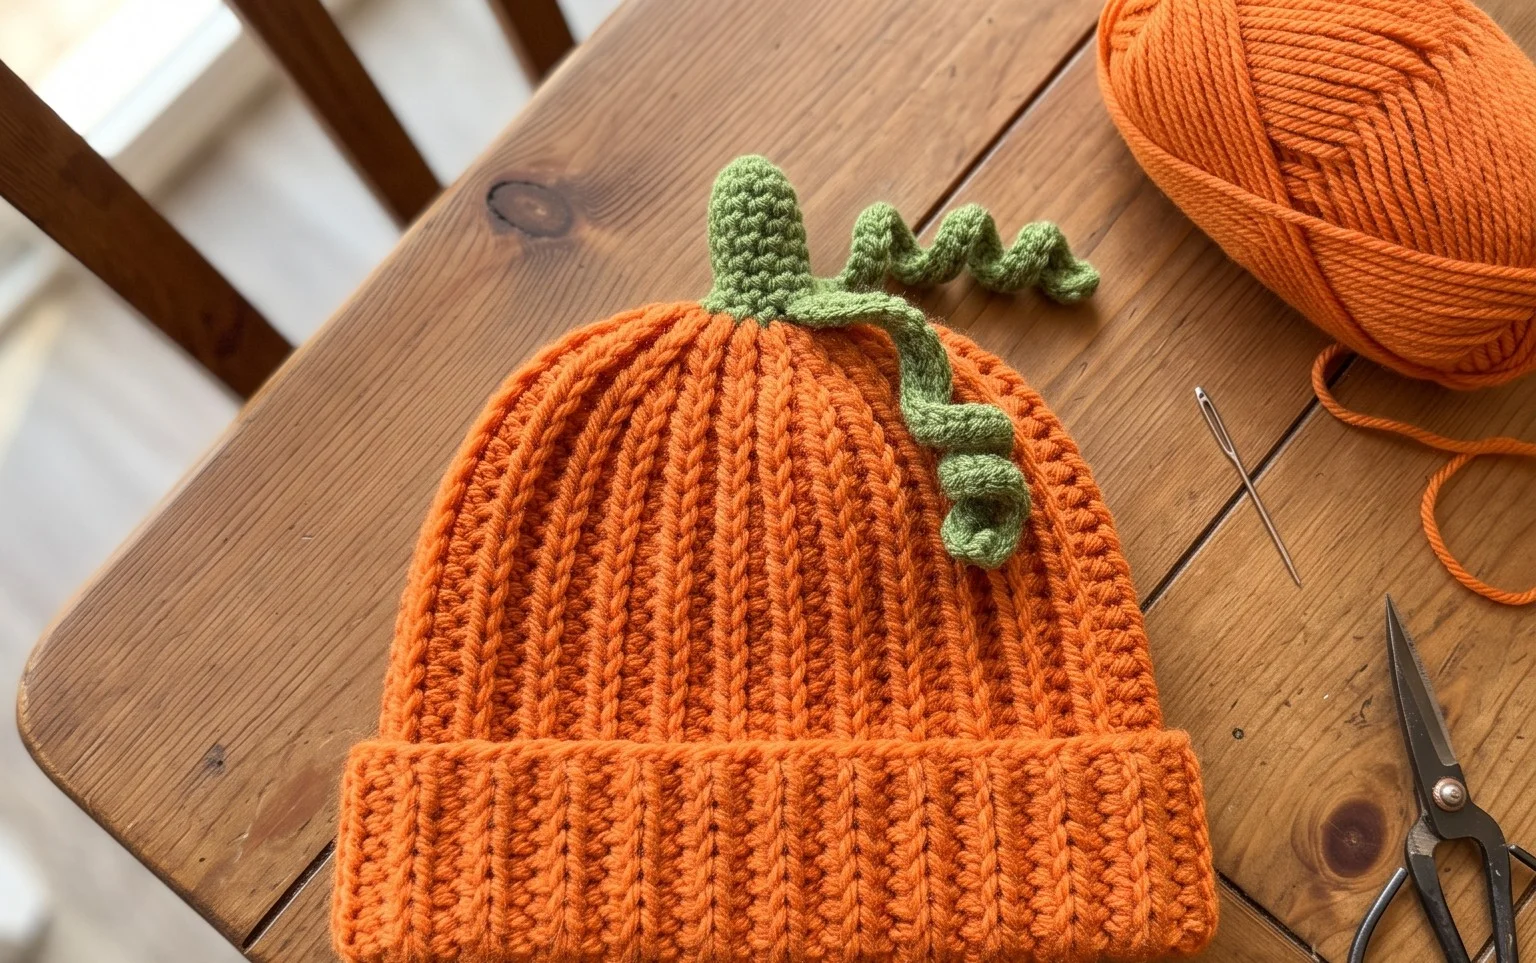
This soft acrylic beanie features a ribbed texture that mimics knit fabric, providing a cozy layer for chilly morning walks. Beginners find this project rewarding because it uses simple row construction rather than complex circular counting. By working back and forth, you create a flat rectangular piece that folds into a structured hat with minimal effort. This design suits anyone needing a functional handmade gift on a short deadline. Throughout this guide, you will master the half-double crochet stitch to achieve a dense, warm fabric that holds its shape throughout the winter season without sagging or losing its elasticity over time.
Why You’ll Love This Pattern
This classic crochet beanie works up quickly using the half-double crochet stitch, which provides a balance of warmth and flexibility. You only need a single skein of medium-weight yarn to complete the project, making it an ideal choice for last-minute gifts. The texture is consistent and soft against the skin, while the construction relies on simple rectangle shaping that avoids the complexities of traditional round increases. Because it is worked flat and then seamed, you can easily adjust the height or circumference to fit any head size.
I finished this hat in one evening while watching a movie. It is so simple to follow and the ribbing looks like it was knit by a machine.
— Sarah, hobbyist crocheter
Pattern Overview & Skill Level
- Skill Level: Beginner
- Approximate Time: 2 to 3 hours
- Construction: Worked flat in rows to create a rectangular panel, then seamed into a tube with a gathered top.
- Finished Dimensions: 18 inches circumference (unstretched) and 9 inches height.
Materials & Supplies Needed
- Yarn: Worsted weight (#4), approximately 180 yards of 100% acrylic or wool blend.
- Hook Size: 5.0 mm (US H-8).
- Notions: Tapestry needle for seaming and weaving ends, locking stitch markers, and scissors.
- Yarn substitutions: Cotton yarn will result in a heavier, less stretchy hat. If using a thinner sport weight yarn, increase your starting chain length by 10% to maintain the fit.
Stitch Guide & Abbreviations (US Terms)
- ch: chain
- hdc: half double crochet
- hdc BLO: half double crochet in the back loop only. Insert hook under the back loop of the stitch from the previous row to create a ribbed texture.
- st(s): stitch(es)
- sl st: slip stitch
- YO: yarn over
Step-by-Step Pattern Instructions
Main Hat Panel
- Row 1: Ch 41. Hdc in the second ch from the hook and each ch across. (40 sts)
- Row 2: Ch 1, turn. Hdc BLO in each st across. (40 sts)
- Rows 3-60: Repeat Row 2 until the piece measures approximately 18 inches in length when slightly stretched. Do not fasten off after the final row.
Assembly and Finishing
- Seaming: Fold the rectangle in half so the short edges meet. Using your tapestry needle and a long tail of yarn, whip stitch the two short edges together to form a tube.
- Closing the Crown: With the hat inside out, weave the yarn tail through the edge stitches of the top opening. Pull the yarn tight to cinch the top shut securely. Knot the yarn and weave in the ends.
- Final Touches: Turn the hat right-side out. You can fold the bottom edge up to create a brim or leave it flat for a slouchy look.
Care & Washing Instructions
- Machine wash on a gentle cycle in cool water (30C) using a mild detergent.
- Lay the hat flat on a clean towel to air dry, reshaping it while damp to ensure the ribbing stays aligned.
- Do not iron or steam directly, as this may permanently flatten the texture of the stitches.
Pro Tips & Common Mistakes to Avoid
- Maintain consistent tension throughout the rows; if your tension is too tight, the fabric will lose its necessary stretch, making the hat difficult to put on.
- Use a stitch marker on the first stitch of every row to ensure you do not accidentally skip the final stitch, which would cause the edges of your rectangle to slant.
- Weave your yarn tails in multiple directions through the stitches to prevent the seam from unraveling over time.
- To adjust the size, change the number of starting chains; each chain added or removed changes the height of the hat by roughly half an inch.
Frequently Asked Questions
Can I use a different weight of yarn for this pattern?
Yes, you can use a lighter or heavier yarn. If you use a bulky yarn, reduce the starting chain count to reach your desired height and work fewer rows to achieve the correct circumference.
Is this pattern suitable for someone who has never crocheted before?
Absolutely. It uses only the half double crochet stitch and requires basic seaming, making it a perfect project to practice tension control and edge consistency.
How do I know if the hat will fit correctly?
Wrap your finished rectangle around your head before seaming. It should feel snug but not tight. If it feels loose, remove a few rows; if it feels too tight, add a few more rows of hdc BLO.
Am I allowed to sell hats made from this pattern?
You are welcome to sell finished items made from this design. Please credit the pattern designer when listing your items online or at craft markets.
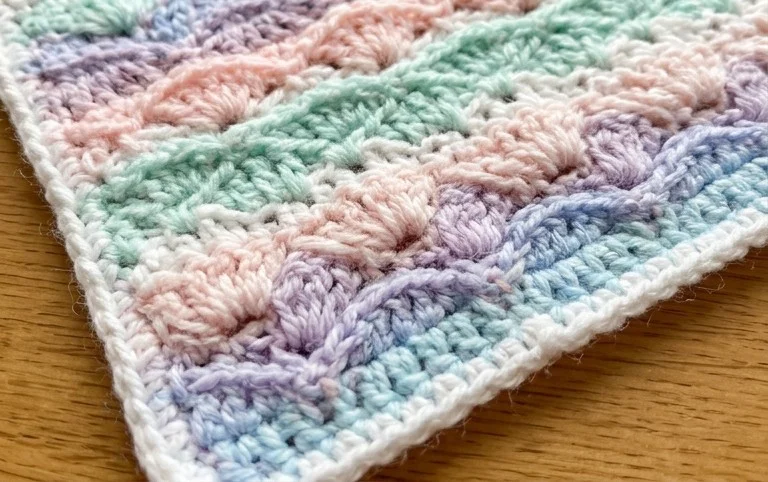
Your finished hat provides a snug fit that stays comfortable even during long periods of wear. You can change the aesthetic of this project by swapping the solid yarn for a variegated wool blend to create unique color transitions throughout the ribs. Posting a photo of your work helps other makers see how different textures change the final look of the piece. Explore more free patterns on the blog to find your next project for those quiet evenings spent with a crochet hook and a favorite movie.