Easy Baby Blanket: Free Crochet Pattern for Beginners
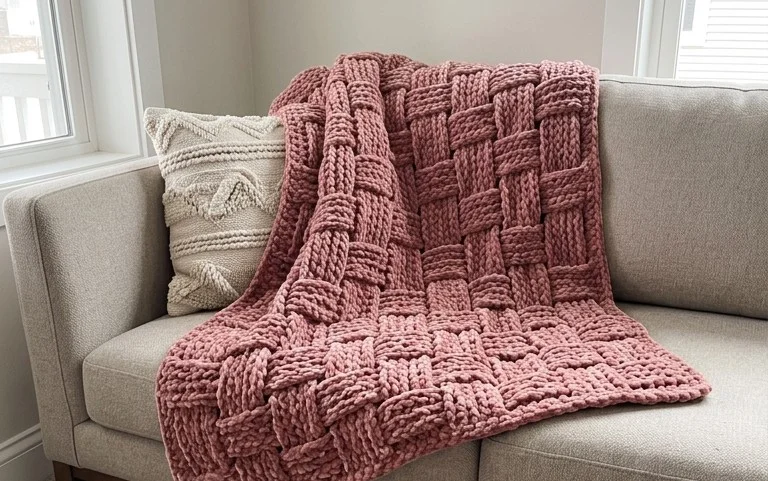
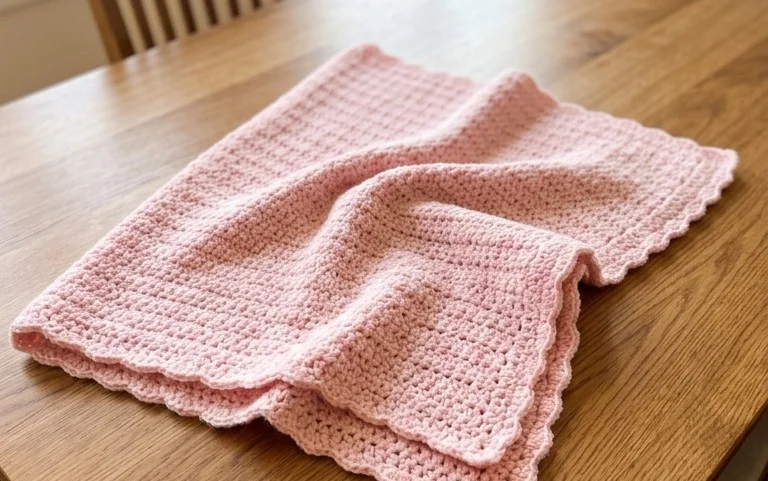
Soft cotton yarn creates a squishy, warm fabric that feels gentle against a baby’s sensitive skin during nap time. This project relies on a repetitive double crochet stitch, which makes the rhythm of the work steady and calming for busy parents or hobbyists. You will find that this construction method builds a dense, durable surface that holds its shape through many wash cycles. It is a fantastic choice for a handmade shower gift that requires minimal materials. Mastering this foundational technique gives you the confidence to tackle larger bedding projects with success and pride in your handiwork.
Why You’ll Love This Pattern
This beginner-friendly crochet coaster pattern is the ideal project for using up small amounts of leftover cotton yarn. Because it works up in only five rounds, you can easily complete a full set of four in a single afternoon. The design relies on basic stitches to create a dense, heat-resistant fabric that lays perfectly flat on any tabletop. Its circular construction makes it a relaxing, rhythmic project that requires minimal counting once you master the initial increase sequence.
I finally learned how to keep my circles from ruffling by following these simple instructions, and my kitchen table looks so much better now.
— Sarah, home crafter
Pattern Overview & Skill Level
- Skill Level: Beginner
- Approximate Time: 30 minutes per coaster
- Construction: Continuous rounds worked in the round
- Finished Dimensions & Sizing: 4 inches (10 cm) in diameter
Materials & Supplies Needed
- Yarn: Worsted weight (#4) 100% cotton yarn, approximately 15 yards per coaster. Cotton is the preferred fiber because it absorbs moisture and resists heat.
- Hook Size: 5.0 mm (H-8) crochet hook.
- Notions needed: Yarn needle for weaving in ends, scissors, and one stitch marker.
- Safe yarn substitutions: You may use a wool blend, but be aware that acrylic yarn can melt if placed under very hot mugs. Using a different weight of yarn will change the finished diameter; use a smaller hook for finer yarn or a larger hook for bulkier yarn to maintain tension.
Stitch Guide & Abbreviations (US Terms)
- MR = Magic ring (or chain 3 and join with a slip stitch to form a loop)
- ch = Chain
- st = Stitch
- sc = Single crochet
- inc = Increase (2 sc in the same stitch)
- sl st = Slip stitch
- dc = Double crochet
- dc2tog = Double crochet 2 together (used for a smooth finish)
Step-by-Step Pattern Instructions
Coaster Body
- Rnd 1: Start with a MR, work 6 sc into the ring. Pull the tail tight to close the center. (6 sts)
- Rnd 2: Work 2 sc in each st around. (12 sts)
- Rnd 3: 1 sc in the next st, inc in the next st repeat from * to * 6 times. (18 sts)
- Rnd 4: 1 sc in each of the next 2 sts, inc in the next st repeat from * to * 6 times. (24 sts)
- Rnd 5: 1 sc in each of the next 3 sts, inc in the next st repeat from * to * 6 times. (30 sts)
Finishing
Once you finish the final round, join with a sl st to the first stitch. Fasten off your yarn, leaving a 4-inch tail for weaving. Thread your yarn needle and weave the end through the back loops of the final round to secure it, then trim any excess. If the coaster is slightly cupped, dampen it with water and press it flat with a heavy book until dry.
Care & Washing Instructions
- Machine wash on a gentle cycle in cold water using a mild detergent.
- Lay the coaster flat on a towel to air dry to prevent shrinking or distortion.
- If the edges curl over time, lightly steam the coaster or dampen and block it into a flat circle.
Pro Tips & Common Mistakes to Avoid
Maintain consistent tension throughout the project to ensure the coaster lays flat. If your circle begins to ruffle like a bowl, your tension is likely too loose or you are adding too many stitches. Use a stitch marker to track the first stitch of every round so you do not lose your place during the increases. Weaving your ends in by catching the inner strands of the stitches ensures the yarn tail stays hidden and will not poke out during regular use. If you wish to make a larger coaster, continue the increase pattern by adding one additional single crochet between each increase in every subsequent round.
Frequently Asked Questions
Can I use acrylic yarn for these coasters?
While you can use acrylic yarn, it is not recommended for items that will hold hot mugs. Acrylic fibers have a low melting point and can deform or damage your furniture if placed under high heat.
Why is my coaster not laying flat?
A wavy or ruffled edge usually means you have too many stitches for the size of your hook. Try going down one hook size or loosening your tension slightly to see if the circle pulls flat.
Is this pattern suitable for complete beginners?
Yes, this is an excellent starter project. It uses only the most basic stitches and teaches the fundamental concept of increasing in the round, which is essential for larger projects like hats or stuffed toys.
May I sell the coasters I make from this pattern?
You are welcome to sell finished items made from this pattern as long as you credit the original designer in your product listings. Do not redistribute or sell the pattern instructions themselves.
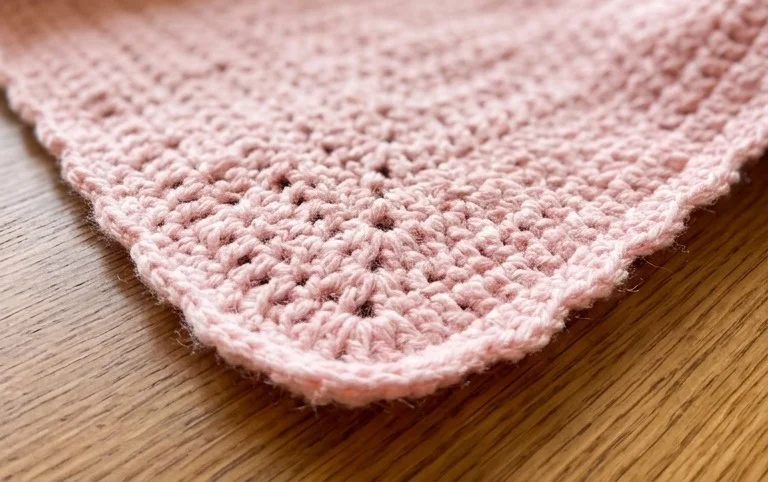
Wrapping your finished blanket in a simple ribbon makes it a wonderful gift for any new arrival in your life. You might consider adding a border in a contrasting color or using a variegated yarn to create a playful striped effect across the rows. Sharing your finished work on social media helps others find inspiration for their own handmade nursery items. Please come back to browse the collection for more free patterns to build your skills further. Happy crafting as you continue your creative journey with your next set of supplies.